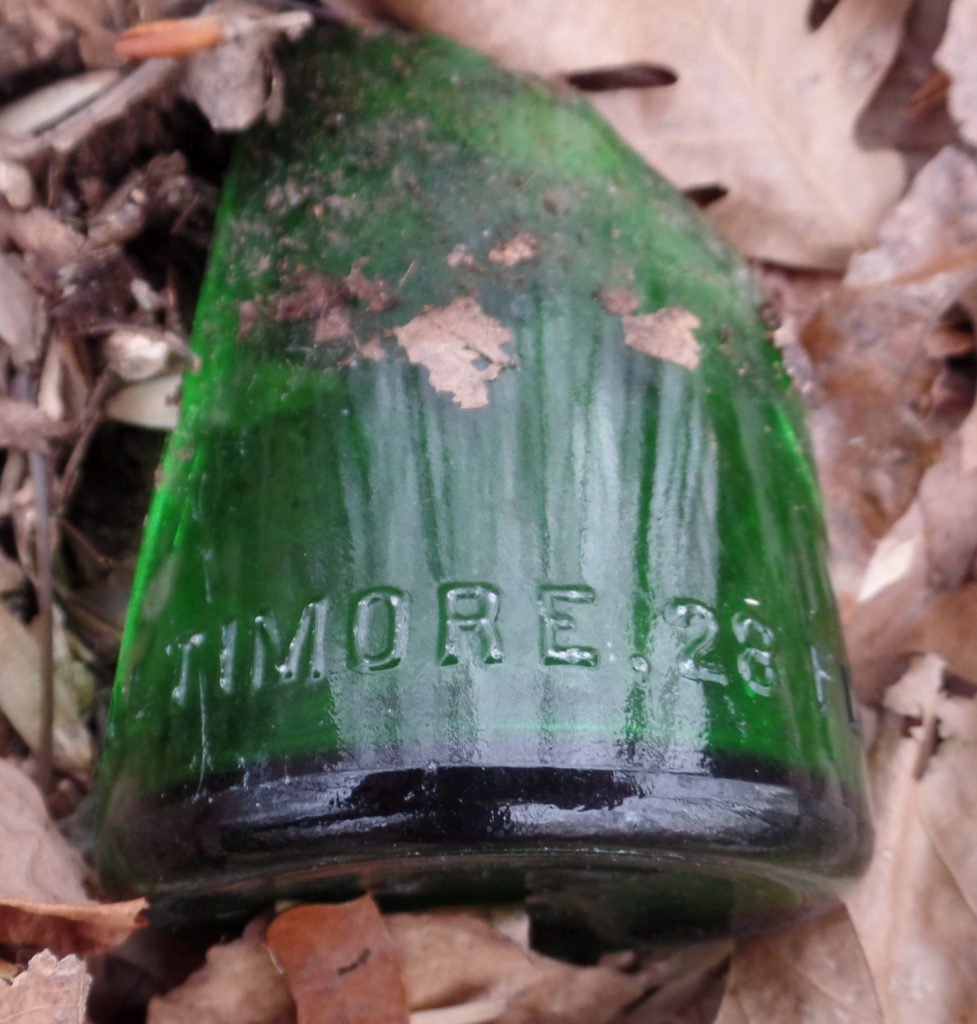
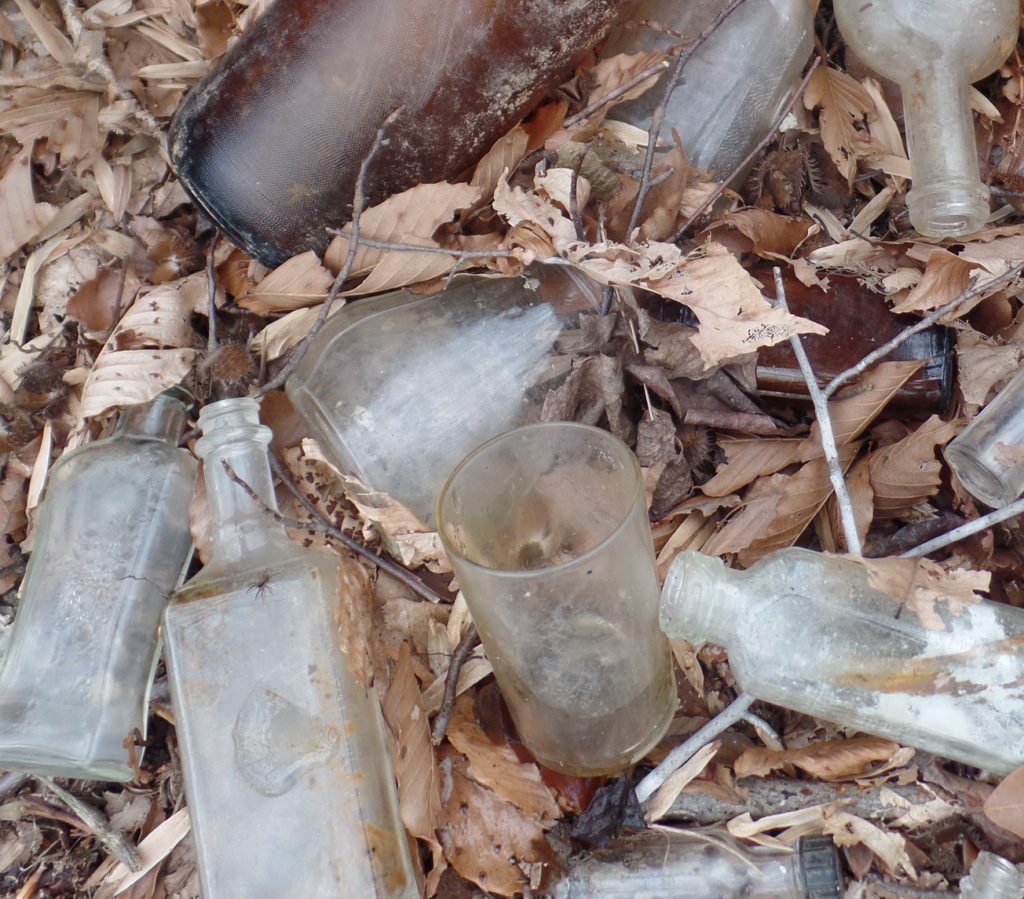
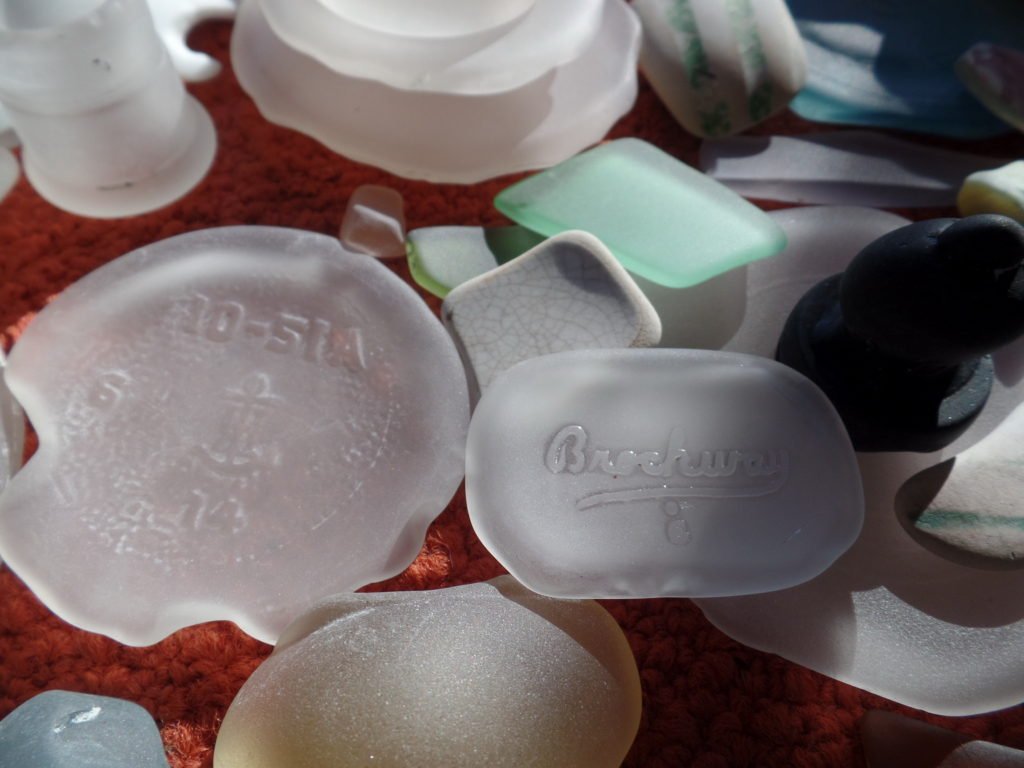
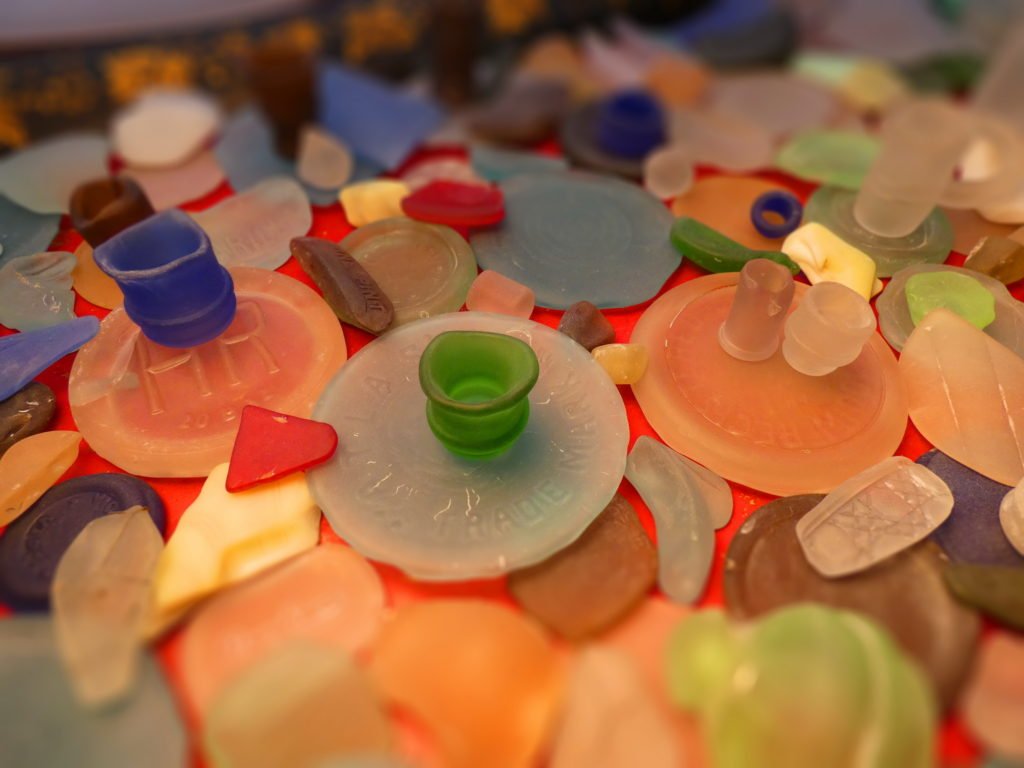
I tend to find a lot of cool old bottles when walking in the woods. Unfortunately, the best ones are usually broken. I don’t like to leave broken glass just sitting around, so I try to take it with me, when possible. It seems like a waste to recycle antique bottles, and the broken ones aren’t really recyclable, so I’ve tried to come up with ways to repurpose them.

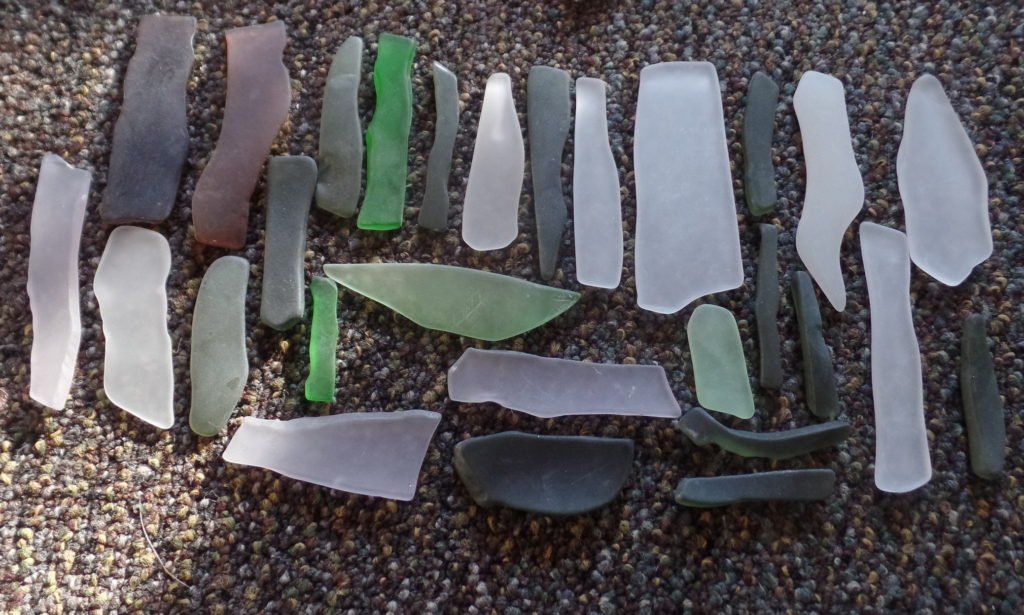
By far, the easiest is to make them into beach glass. Usually, beach glass is something you find, not make (unless you’re in the habit of disposing of your empties in the ocean). It is the smoothed, polished remains of glass bottles and other objects, that were discarded into the ocean decades to even centuries ago. Carried along the ocean floor by the current, the glass gradually erodes as it makes contact with sand and other objects, eventually washing up on the beach. Searching for beach glass was one of my favorite childhood things to do when we’d visit my grandparents in Massachusetts.
However, you can make your own beach glass in around a week, using a rock polisher, a few tools and discarded glass. There are a number of advantages to making it yourself, rather than hunting for it on the beach.
For one thing, most of the pieces you find on the beach are unremarkable. Tiny, clear, green or amber, nondescript blobs are what you will likely find on beaches today, or worse, barely smoothed, jagged chunks, completely unsuitable for display. If you making it yourself, you have some control over the size and shape of the results.
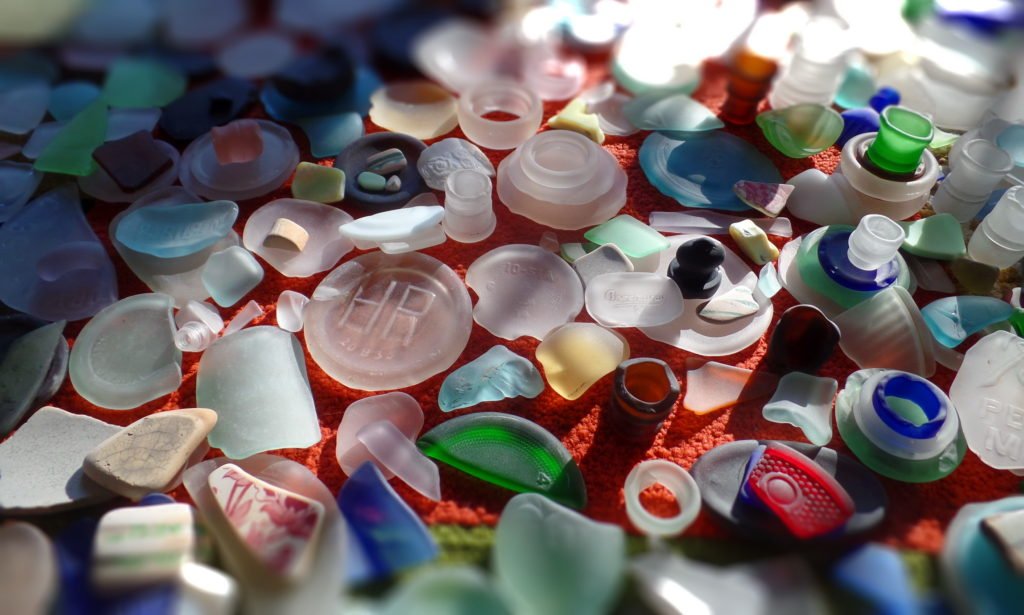
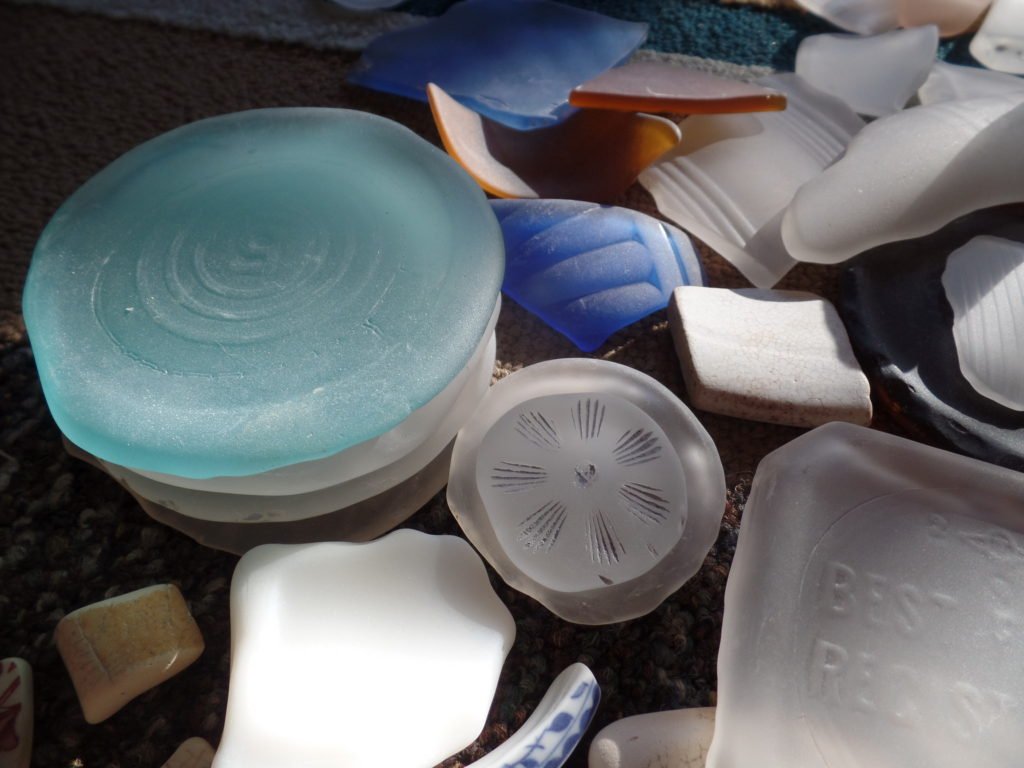
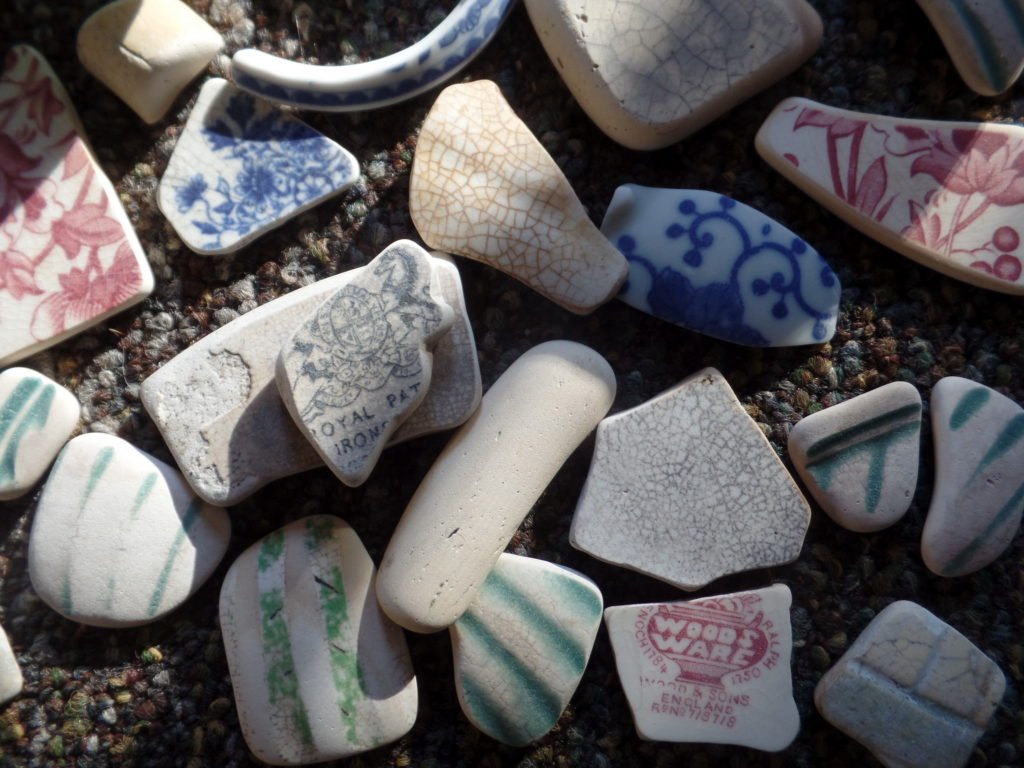
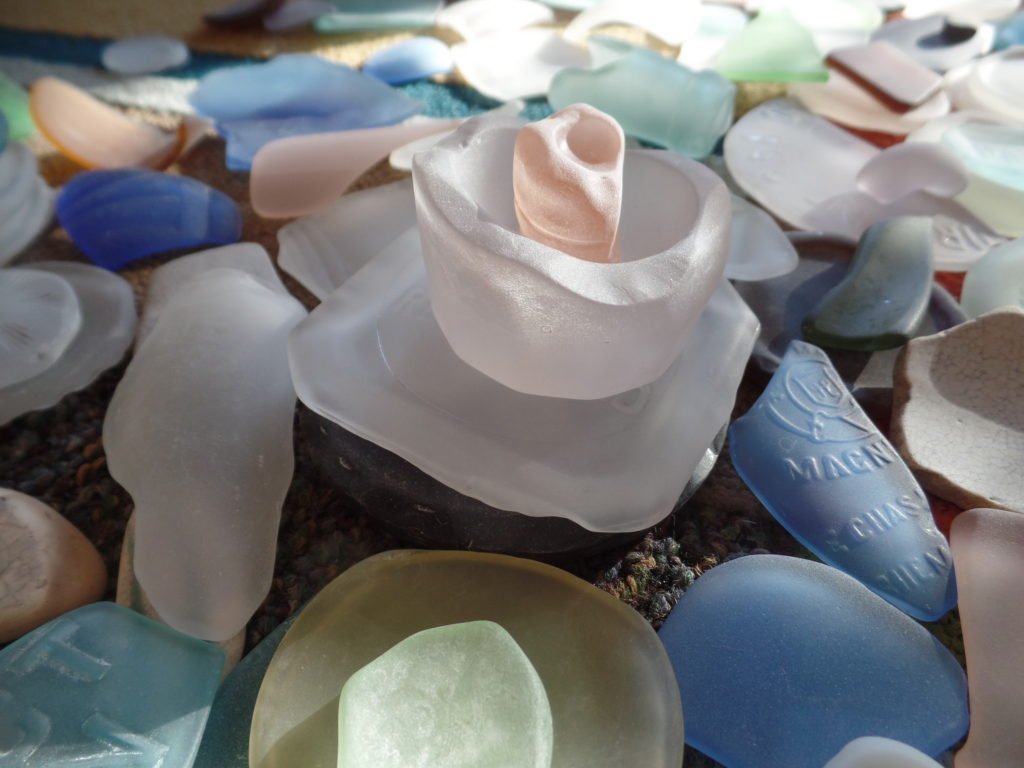
You can also choose to include pieces that feature iconic graphics, text, or patterns. Brand names and logos are often worn beyond recognition or completely obliterated in authentic beach glass. But when you make it yourself, you can control to some extent, the level of wear.
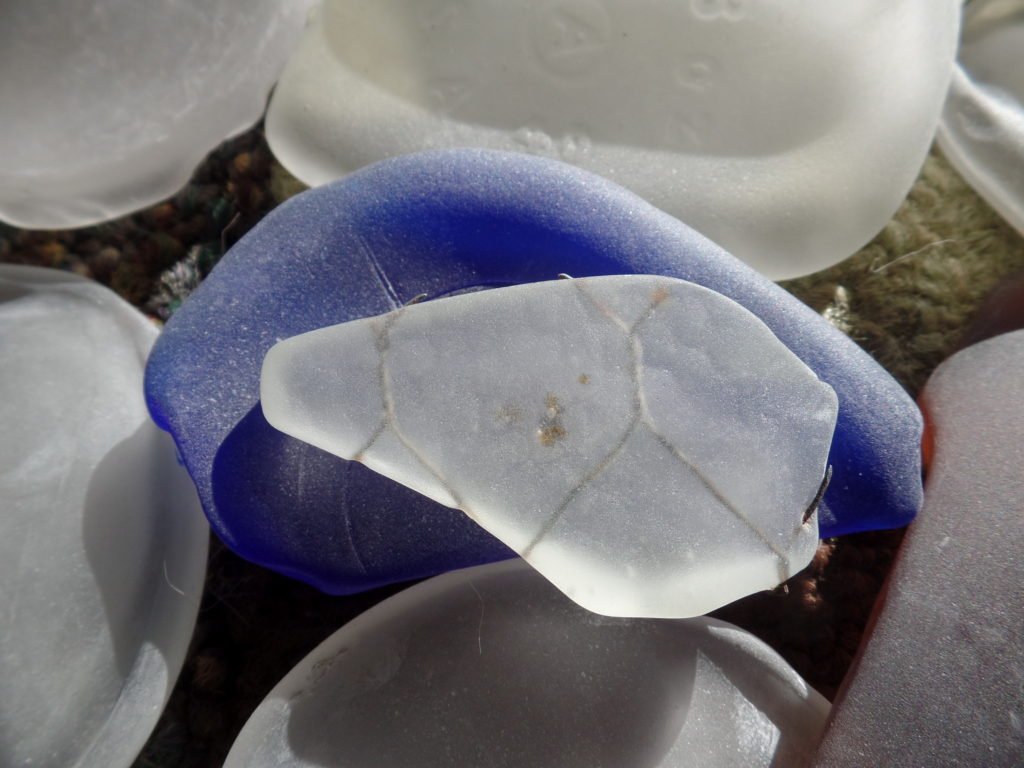
Then there is color. Have you ever found red beach glass? It’s incredibly rare, as the necessary ingredients to make red glass were historically hard to come by, making it expensive to produce, and therefore, unlikely to end up in the ocean. If you produce your own, you can have as much red, violet, blue, or any other color beach glass as you like.
What you will need:
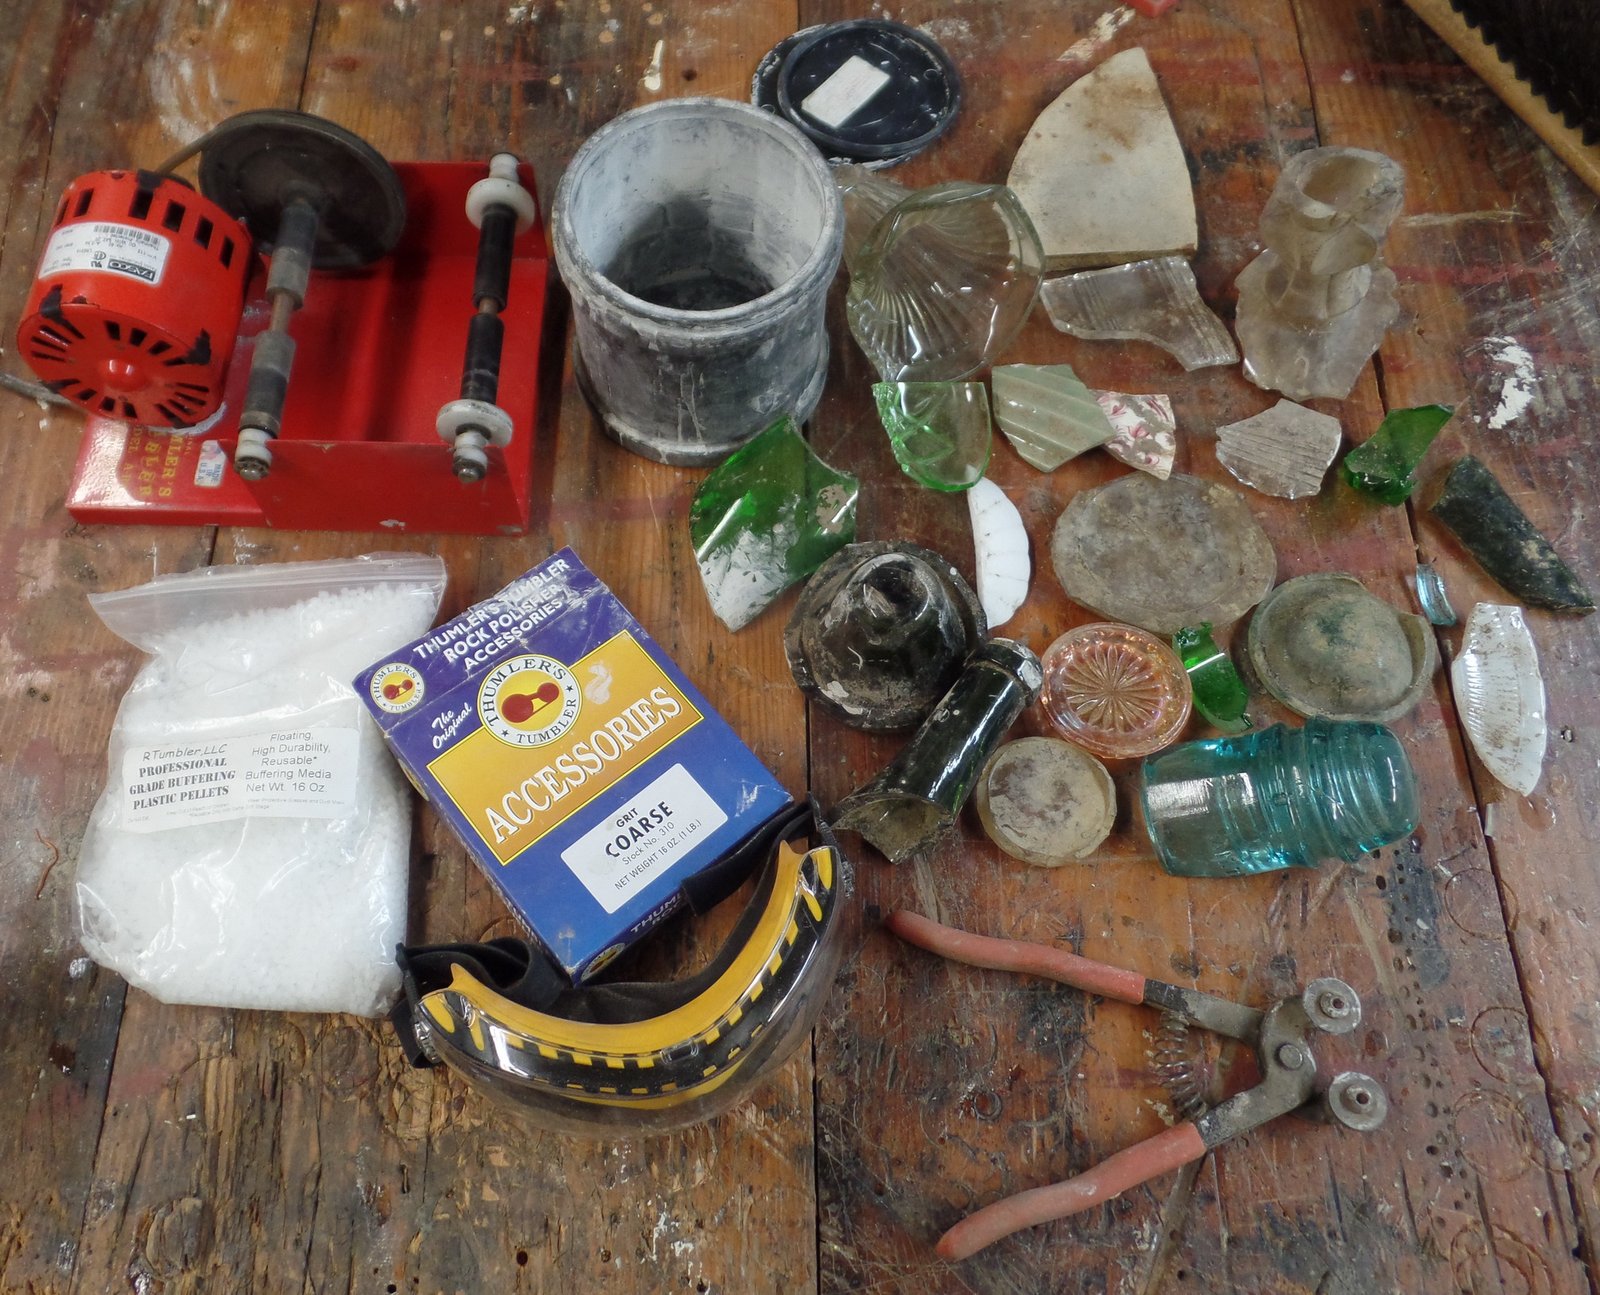
- Rock polisher: The typical polisher is a motor driven, rotating drum. I’ve also seen (but not used) vibratory ones. I’m sure either is fine. If it works with rocks, it will work with glass.
- Coarse polishing grit: Rock polishing media comes in coarse, medium and fine grits. You will only need the coarse grit.
- Plastic buffer (optional): These are tiny beads of plastic, which are supposed to reduce the force of impact between the glass pieces as they churn around in the polisher. They may prevent the glass from further breaking but I’m not convinced.
- Glass/tile nippers: These are for shaping the glass. I prefer the wheeled nippers, which provide better control.
- Discarded glass or ceramic items: broken bottles, plates, mason jars, insulators…..
- Safety goggles and gloves: Not optional. Little shards of glass will be flying everywhere.
Choosing the glass:
Your typical rock polisher/tumbler will hold a lot of glass, but still there is a limit, and it’s going to take several days for this to work, so pick the pieces that you think will yield the best results. Colored glass tends to produce the most interesting results, but I was surprised to find that a lot of what I thought to be colored glass was in fact clear glass covered in a thin layer of color film. Ceramics or porcelain with interesting glazes and patterns also have a lot of potential.
Preparing the glass:
The polisher will smooth out most of the jagged edges, but won’t really affect the overall contours and features of the glass, so you should shape the pieces first using the glass nippers. Consider what you ultimately want to do with your beach glass. If you want to make mosaics, for example, you may want flat pieces. With practice, comes better control of the glass nippers. Be sure to use safety goggles and gloves and don’t do this in your living area or anywhere children or pets will be playing. Tiny shards of glass go flying everywhere, so I usually do this in my workshop and then thoroughly sweep and vacuum afterward.
Loading the polisher:
Even if you are mainly interested in large pieces, it’s best to also include some small ones. This will help keep the material moving around in the container during the polishing. Add about a teaspoon of coarse rock polishing compound and then fill the rest of the container with water. Optionally, a specialty buffer media, consisting of small plastic beads, is available for use with glass in rock polishers. I don’t think it’s absolutely necessary, but the beads are reusable, so it’s not a continual expense.
The wait:
It should take about a week to smooth out most of the sharp edges. During that time, the glass will be continually churning within the rock polisher, so you’ll probably want to run it in a spot where the noise isn’t going to bother you. If you find that the pieces aren’t quite as smooth as you would like, you can always run the polisher longer. Also consider taking out a few of the larger pieces, as these can encumber the rest from tumbling and slow the process.
Finishing up:
Once you are done, don’t throw out the water, grit, and beads. They can all be used again and again (just add a a little more grit or water as needed). Be sure to wash your beach glass once finished. The slurry of powdered glass and polishing grit can be hard to get off, but the pieces will look much better cleaned.
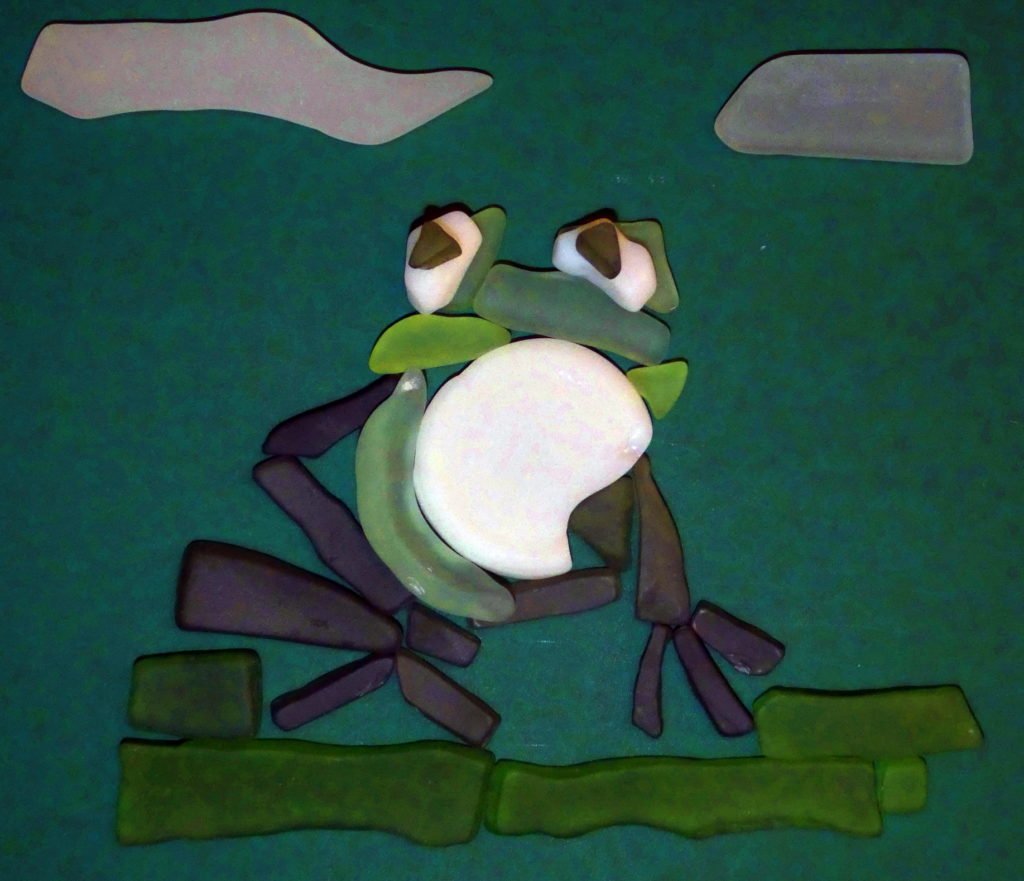
What to do with your beach glass? Good old fashioned hoarding is one option for your collection. Another is to make a mosaic, like this frog.
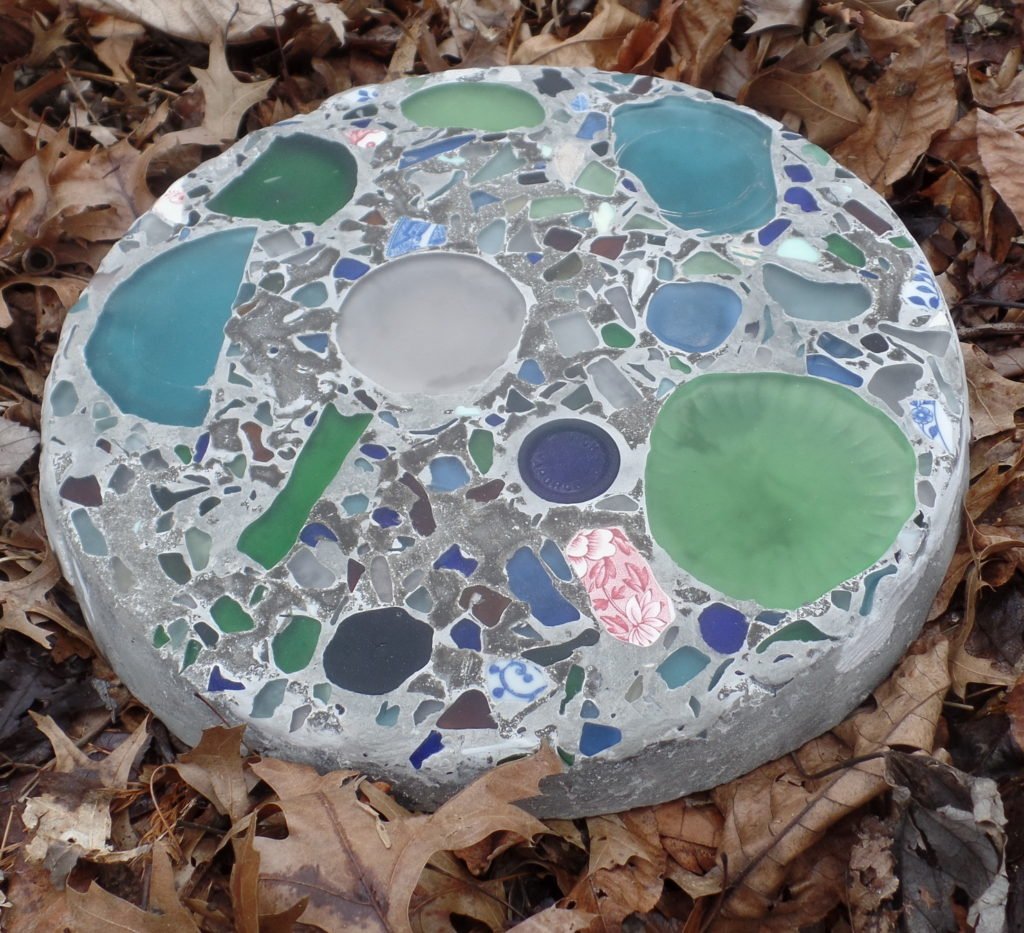
This stepping stone was made by arranging glass in a flexible rubber container, then pouring quick drying cement over it.
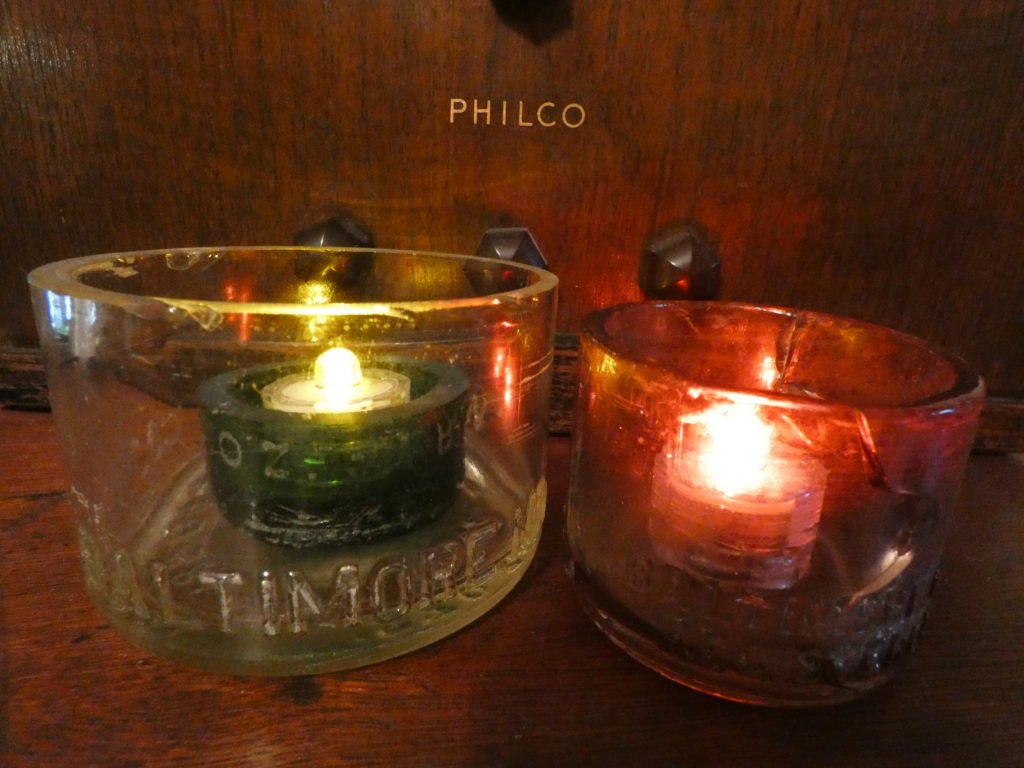
Baltimore and the nearby town Harve de Grace had quite a few beverage bottlers at one time. These votive holders were made from Social Club bottles, a soda brand formerly made in Baltimore.
Not all glass can be recycled curbside. Many recyclers require that you not include any broken glass in your recycling. There are many other glass items they would prefer that you leave out of your recycling too; window glass, mirrors, Pyrex, decorative and especially leaded glass do not belong in the recycling container. Recyclers largely prefer glass containers such as bottles and jars. Why? The glass used to make bottles and jars follows a very consistent formula. Non-container glass can contain additives meant to alter the properties of the glass, such as melting point or strength. These ingredients are not the sort of thing you would want touching your food, and can also lead to inconsistencies in products made from recycled glass.
Unlike plastics, which degrade each time they are melted down and reconstituted, glass can be recycled indefinitely while retaining its original properties. Manufacturing with recycled glass is more energy efficient too, because it requires less energy to melt down and reform old glass, than it does to make new glass out of raw materials.

