
Plastics are like people. Some of them have great potential and can exist in harmony with the world, while others rapidly accumulate as trash.
This post is all about my favorite synthetic material, high density polyethylene (HDPE), the most commonly recycled plastic in the world. In the second part of this post, I’ll tell you how you can recycle HDPE at home to make food safe bowls and cutting boards. But first. . . .
What separates HDPE from the garbage plastics?
Well, first and foremost HDPE items are more durable than those made from other plastics, and therefore last much longer. But not only that, items made from HDPE can be recycled many more times than those made from most other plastics. In fact, a recent study by ESE World demonstrated that virgin HDPE can be processed, shredded, and reconstituted over ten times, without any detriment in physical property, maintaining it’s usefulness for 100 to 200 years. This makes HDPE one of the most Eco-friendly of all plastics.
Sadly though, not all items made from HDPE go on to fulfill their 200 year tour of service. According to the EPA’s most recent figures (which are from 2017), only about 31% of HDPE actually gets recycled, and that rate is declining. However, empty HDPE containers are a valuable commodity. South Asian countries may no longer be willing to take the rest of our heavily contaminated plastic, but everyone wants HDPE. Ninety percent of the HDPE that does make it into the recycling bin is reused right here, in the USA. So, if you put any plastics in your recycling bin, it should definitely be your emptied HDPE containers. Encourage companies to utilize HDPE over other types of plastics in their packaging. Colgate has the right idea, having spent considerable resources to make the very first recyclable toothpaste tube. No surprise: it’s made from HDPE.
HDPE is the ideal surface for food preparation and storage
HDPE will not leach PCB or other chemicals into foods. It is highly resistant to acids and bases and it can be heat sterilized between uses. Combined with its strength and abrasion resistance, it’s no surprise that HDPE has become the material of choice for most commercial food cutting surfaces.
It’s so easy to recycle, you can do it at home
HDPE is a thermoplastic, meaning that it can be melted and reformed. It melts at approximately 355 degrees Fahrenheit, and as long as you don’t burn it, it will not release any toxic fumes, so you can actually recycle HDPE at home. A cutting board is achievable with minimal tools. More complex shapes can be more of a challenge without a lathe and other shop tools.
Here’s a general overview of how you can reuse this plentiful material to make useful items such as bowls and cutting boards, at home. I made these bowls from milk jugs and caps.

Getting the right plastics
As I mentioned before, HDPE can be heated to its melting point without releasing toxic fumes, but this is not the case for all plastics, so it’s important to not mix in any other types of plastics.
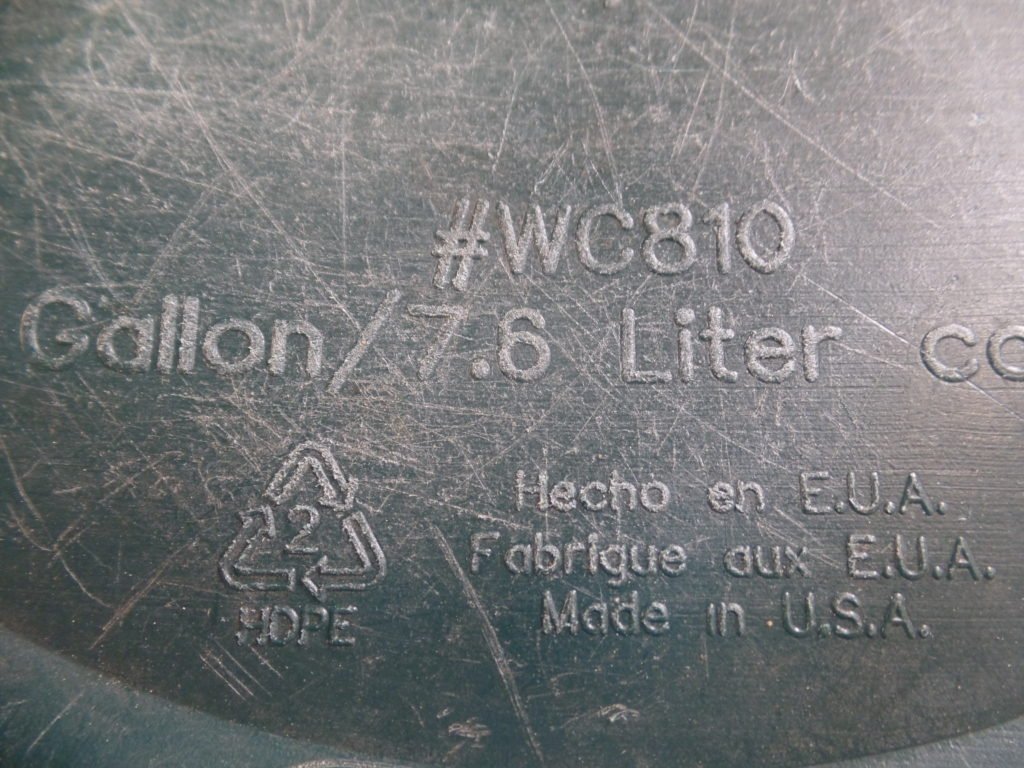
Best Practice: use only plastics with the #2 recyclable symbol or otherwise identified as HDPE. This well used watering can is clearly labeled.
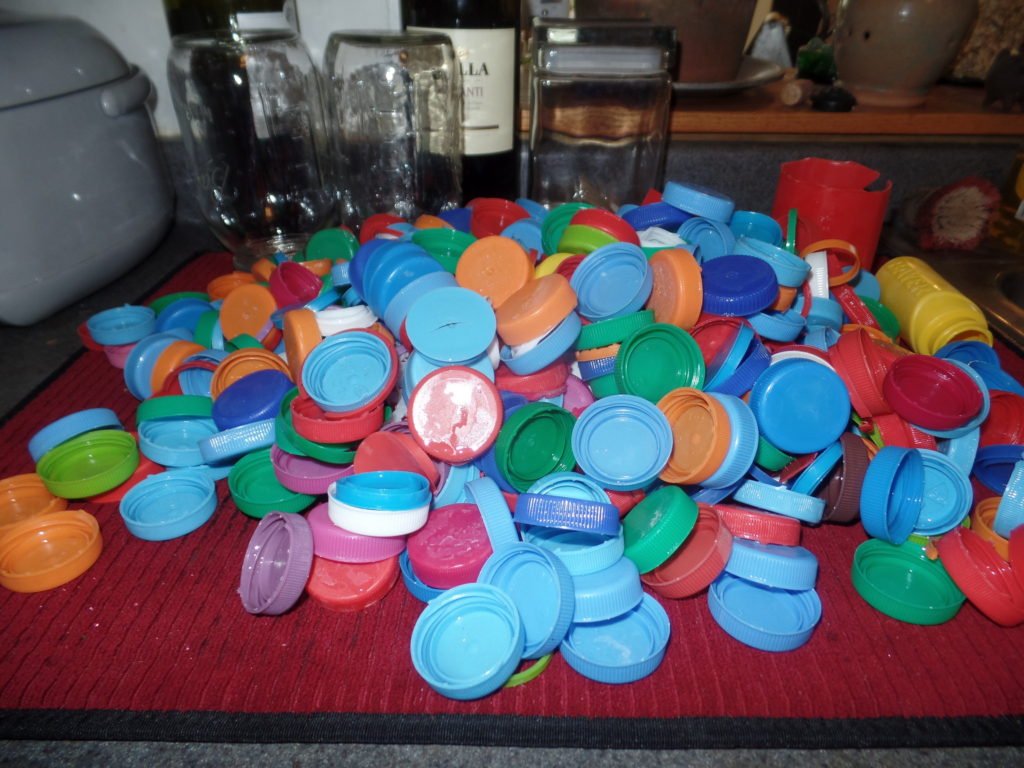
Milk jugs and caps are usually made from HDPE. Other likely sources: detergent bottles, coffee containers, plastic tool boxes, garbage cans, cutting boards.
Preprocessing
You will definitely want to clean and remove contaminants such as paper labels and glue from your plastics. If those labels are on there really good, consider boiling them off. Or if you have plenty of plastic to work with, just cut the labeled parts away and toss them in the recycling (let the pros take care of them). Don’t worry about ink marks (e.g. use by dates). These won’t effect the melting or other properties enough to be of any concern.
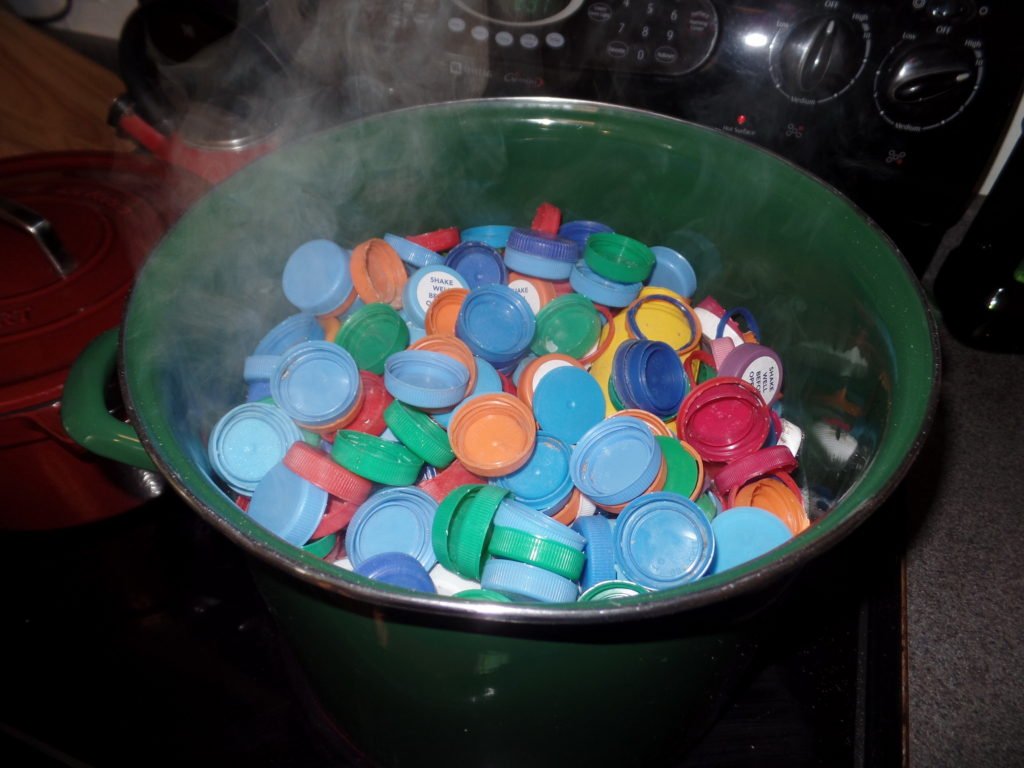
Even after boiling these milk caps twice and scrubbing them in hot soapy water, a fourth of them retained residual glue. Do we really need a label to remind us to shake the contents?
Should the plastic be ground or left intact?
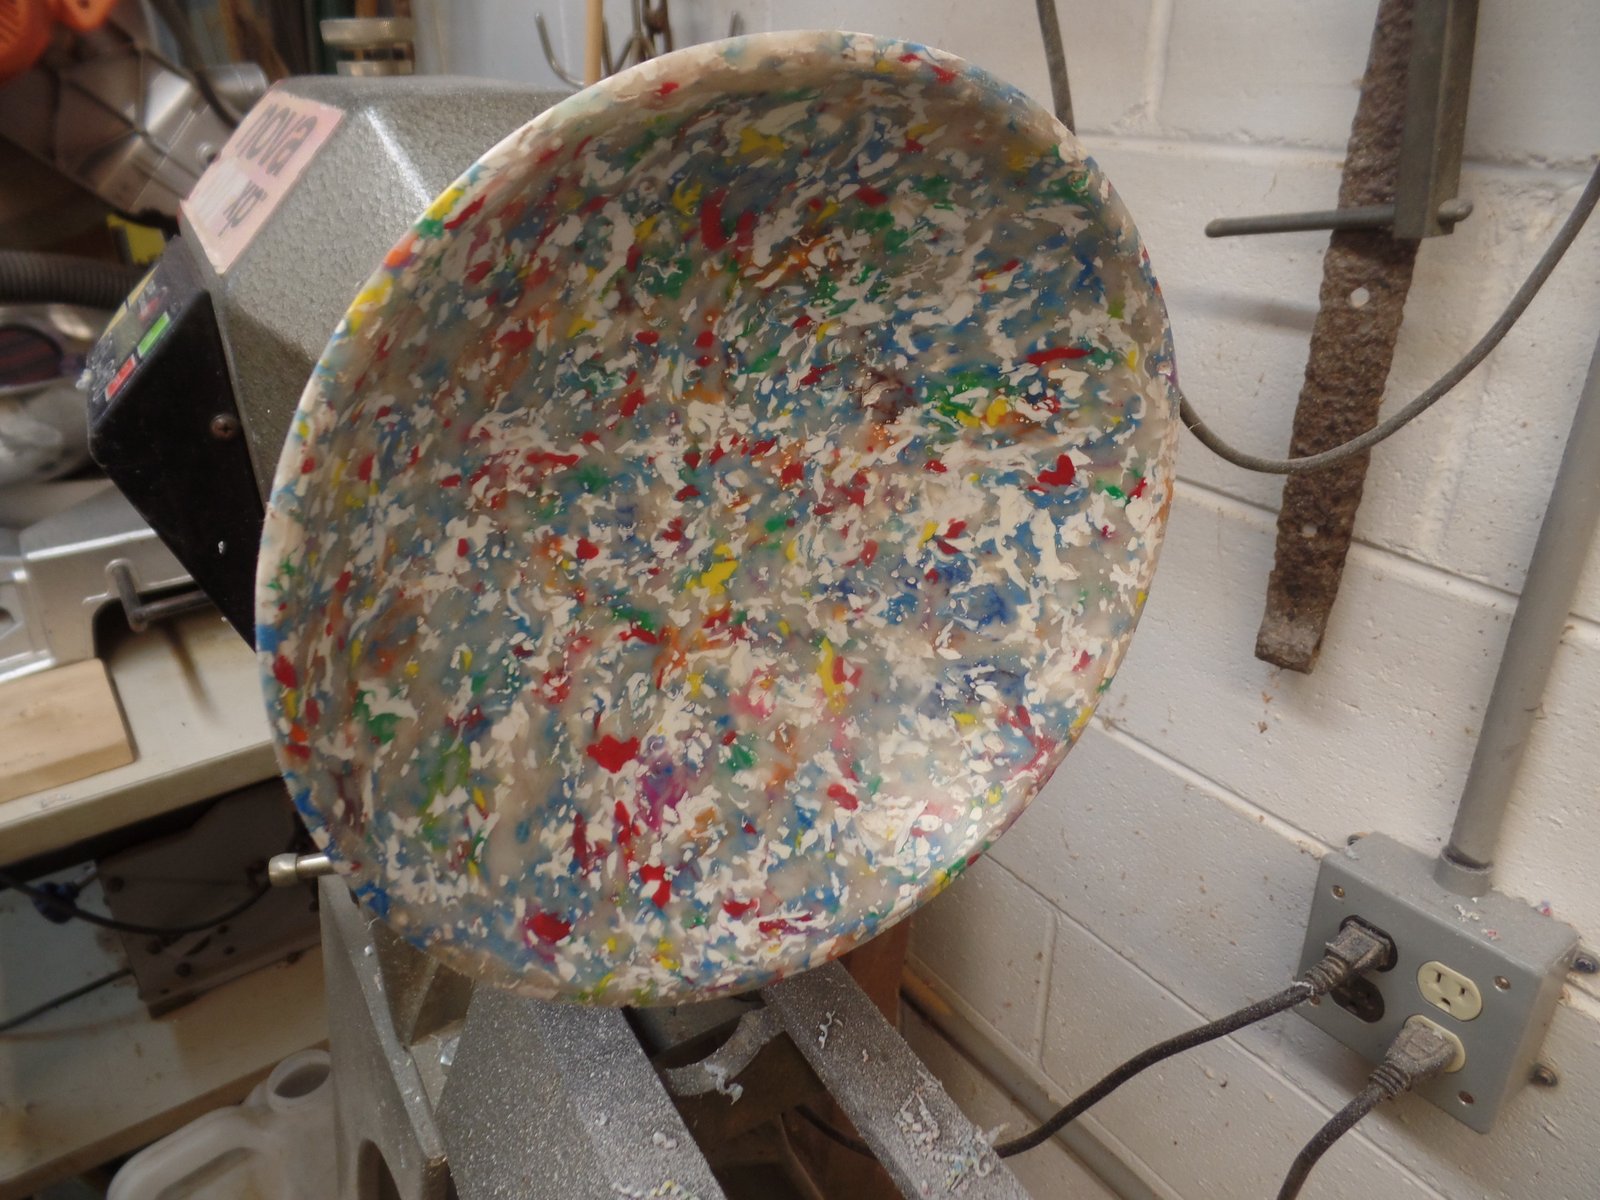
Professional recycling operations grind HDPE up into tiny pellets before melting it down. I don’t actually know why they do this, but I know that increasing a material’s surface area allows it to absorb energy more rapidly and therefore melt faster. From my own experience I also know that air bubbles are more likely to become trapped between large pieces and form voids in molded blocks of plastic .
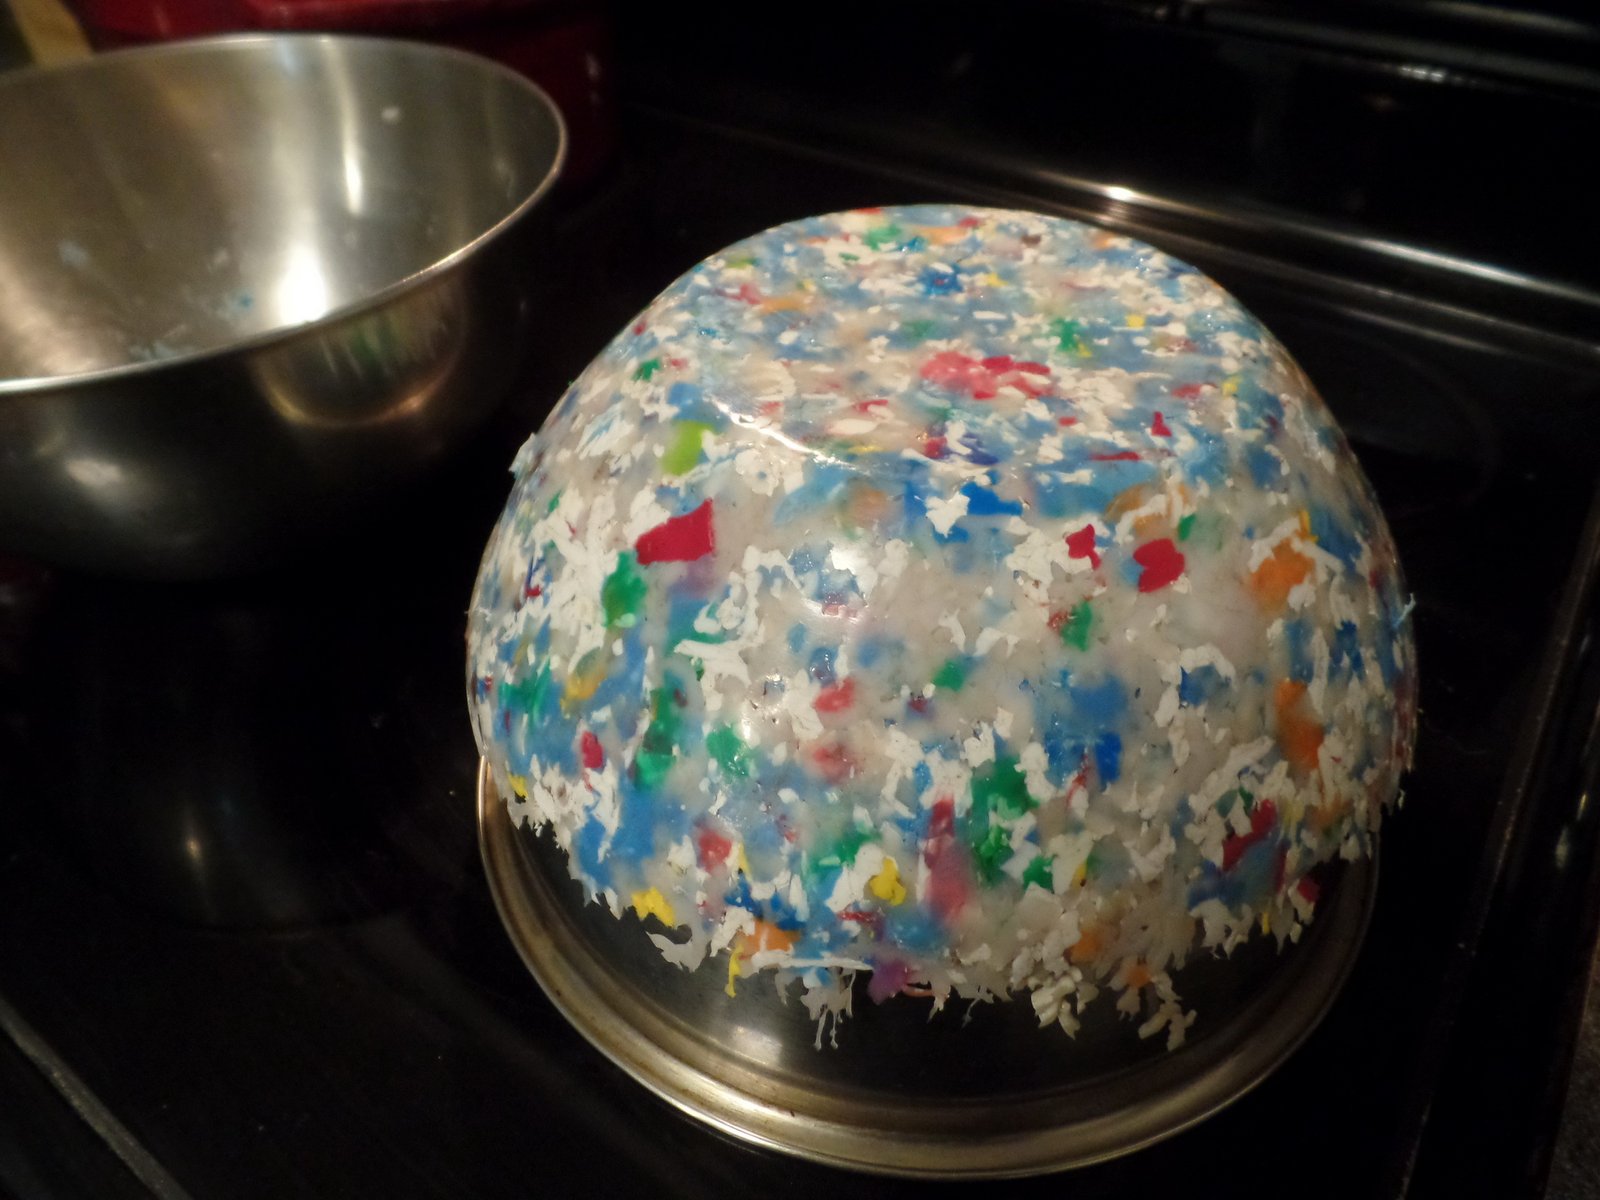
The voids in this bowl were caused by air pockets, trapped between larger chunks of melting plastic. This can have an undesirable effect on the final product if you intend to further shape the HDPE bock with tools and cut into one of these cavities.

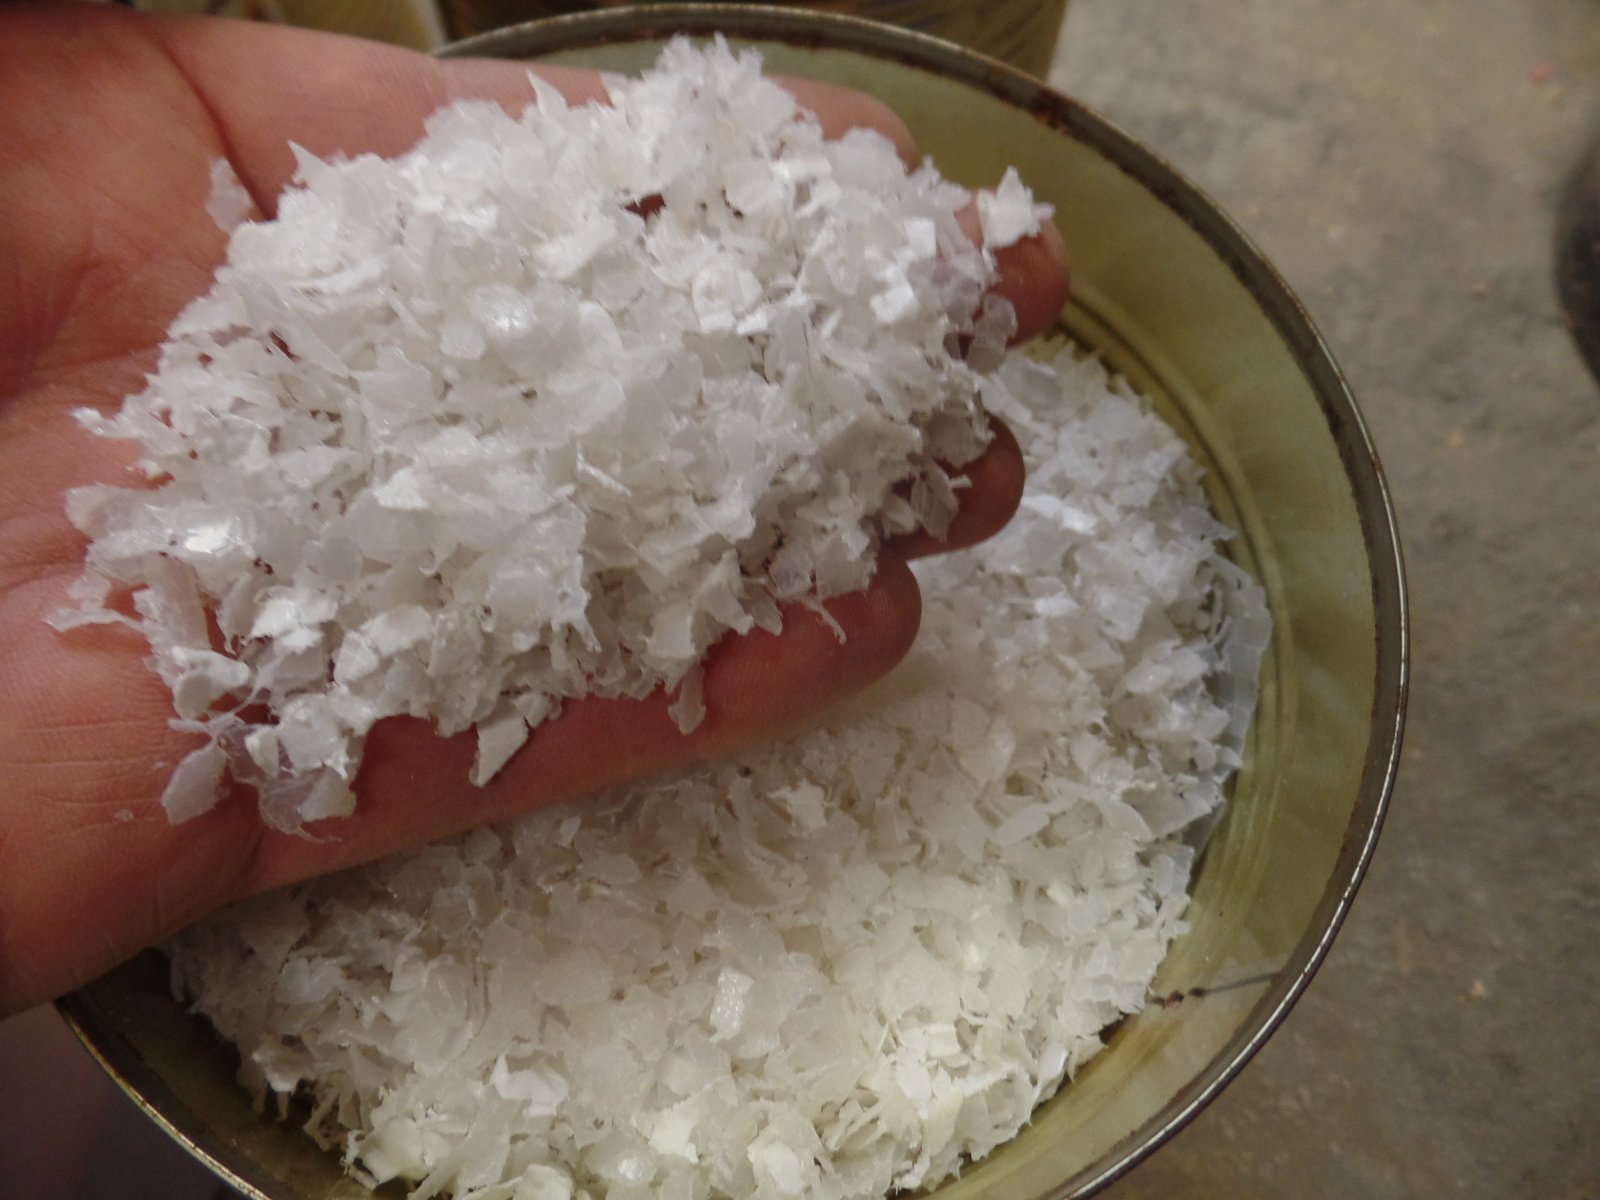
Shredding HDPE
I’ve come up with several ways to grind HDPE. You may want to simply cut it up with a pair of scissors, or just melt it intact. Give it a try.
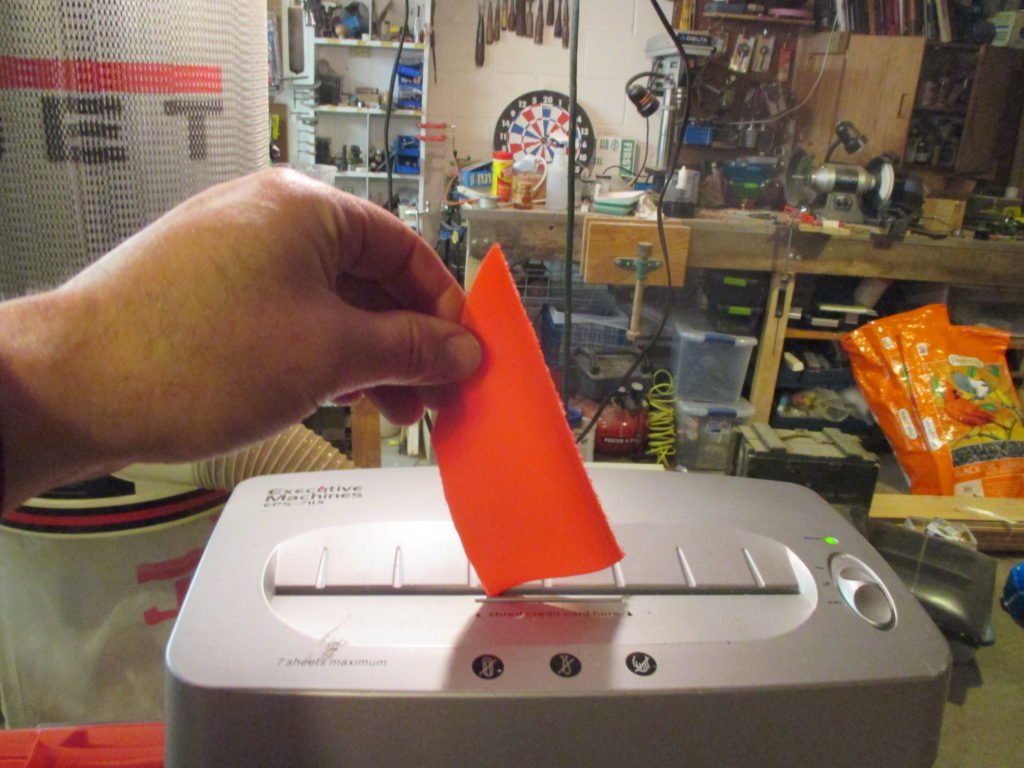
You would be surprised how much plastic you can run through a paper shredder before the engine burns out.

The blender didn’t last as long. A poor quality plastic coupler broke. If only they had used HDPE
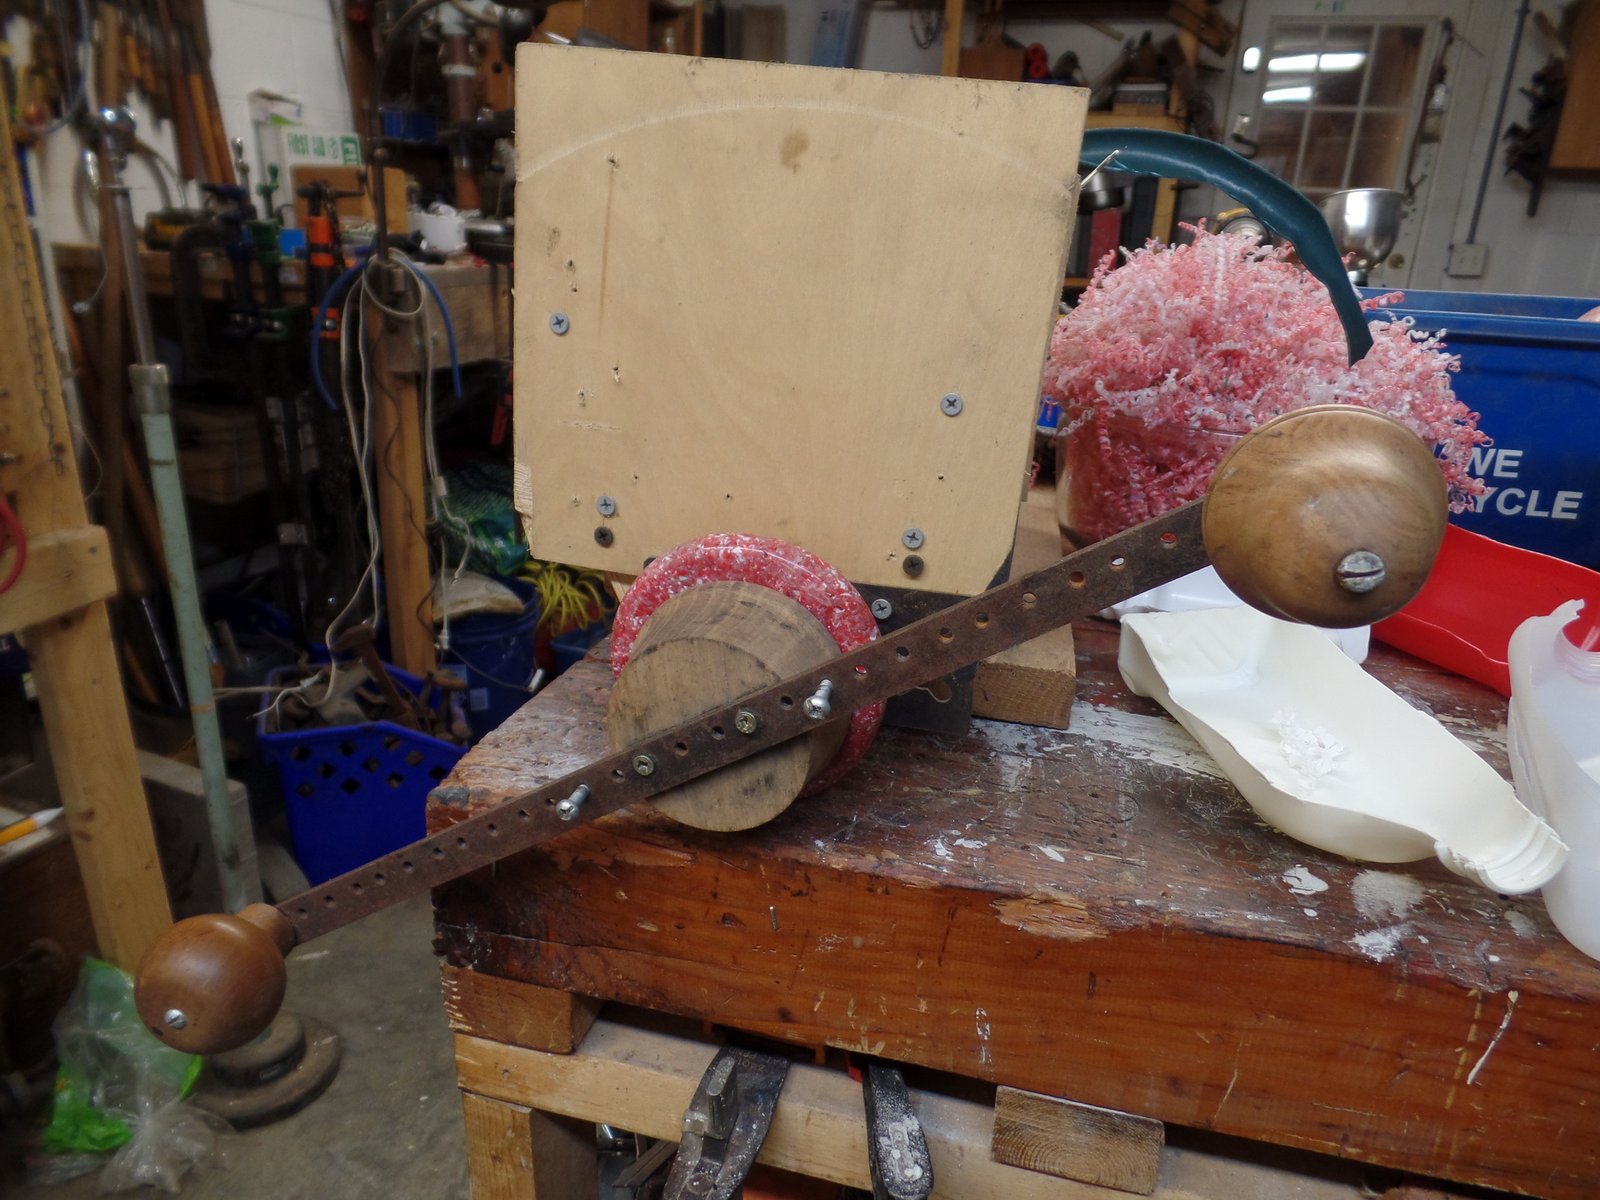
I replaced the paper shredders motor with a hand crank and built a hopper to feed HDPE into the shredder.


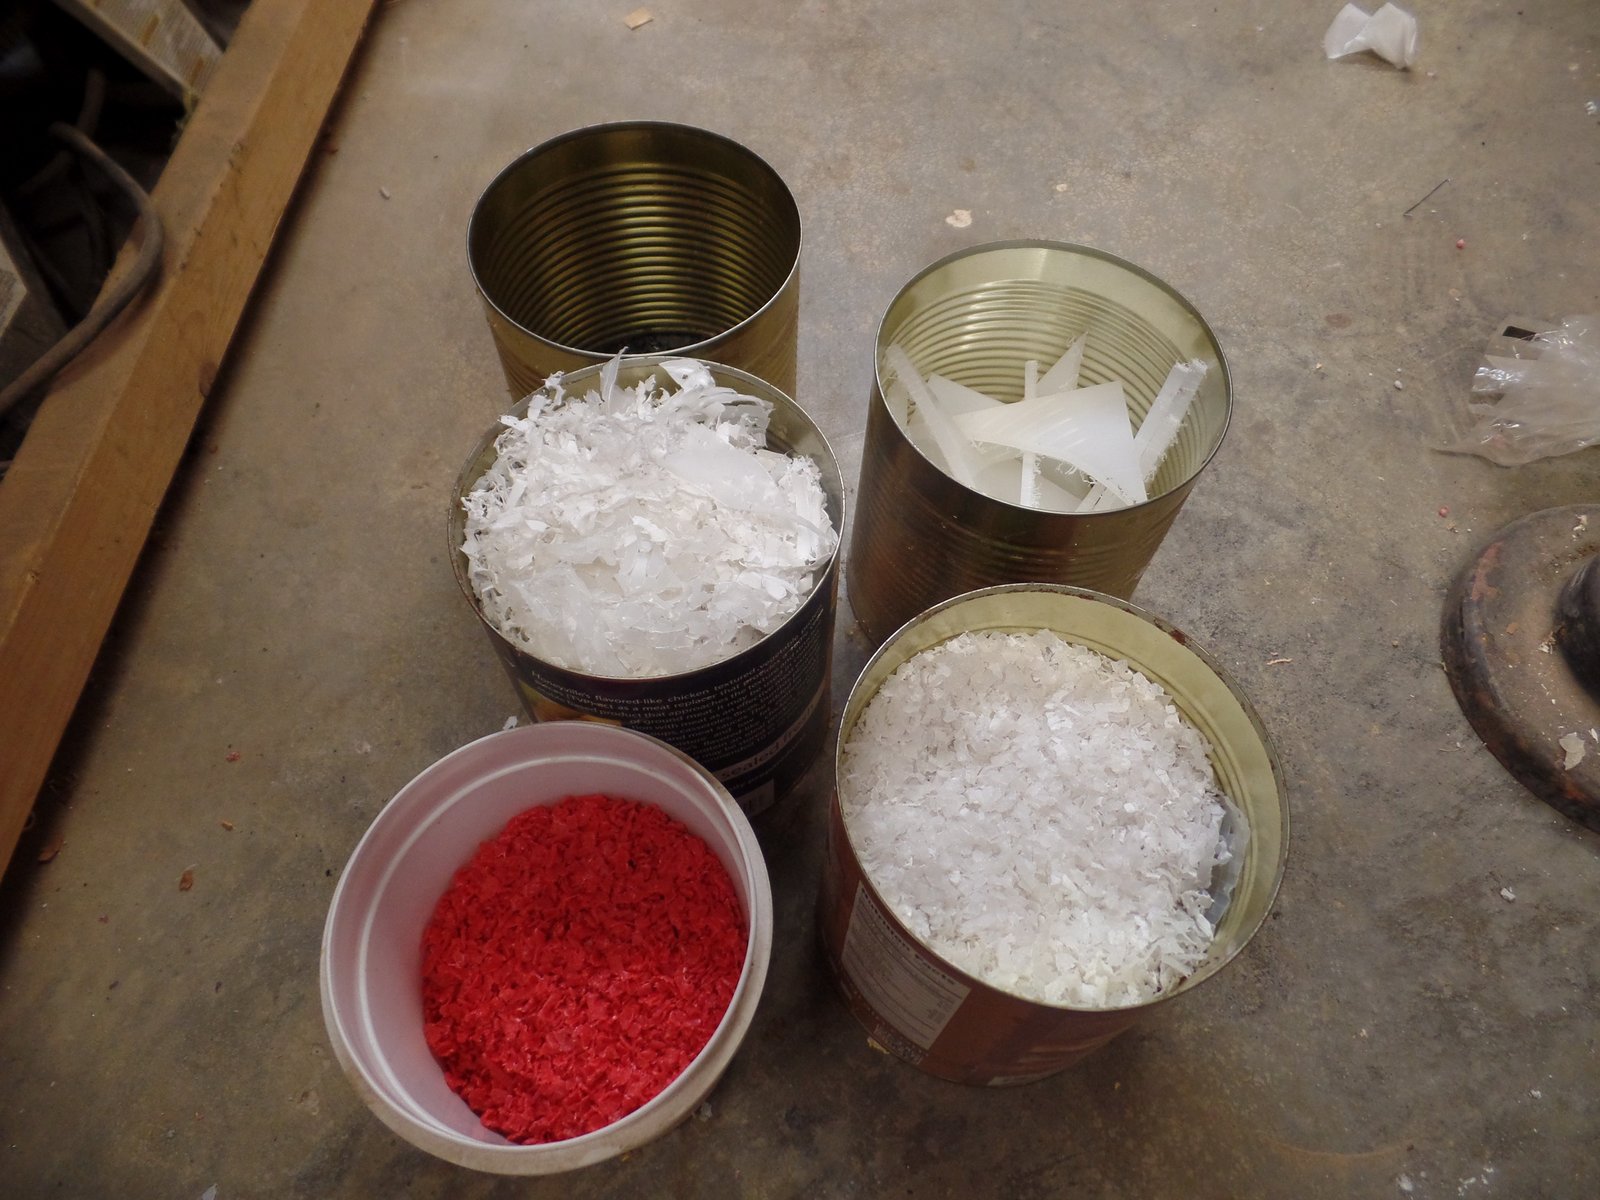
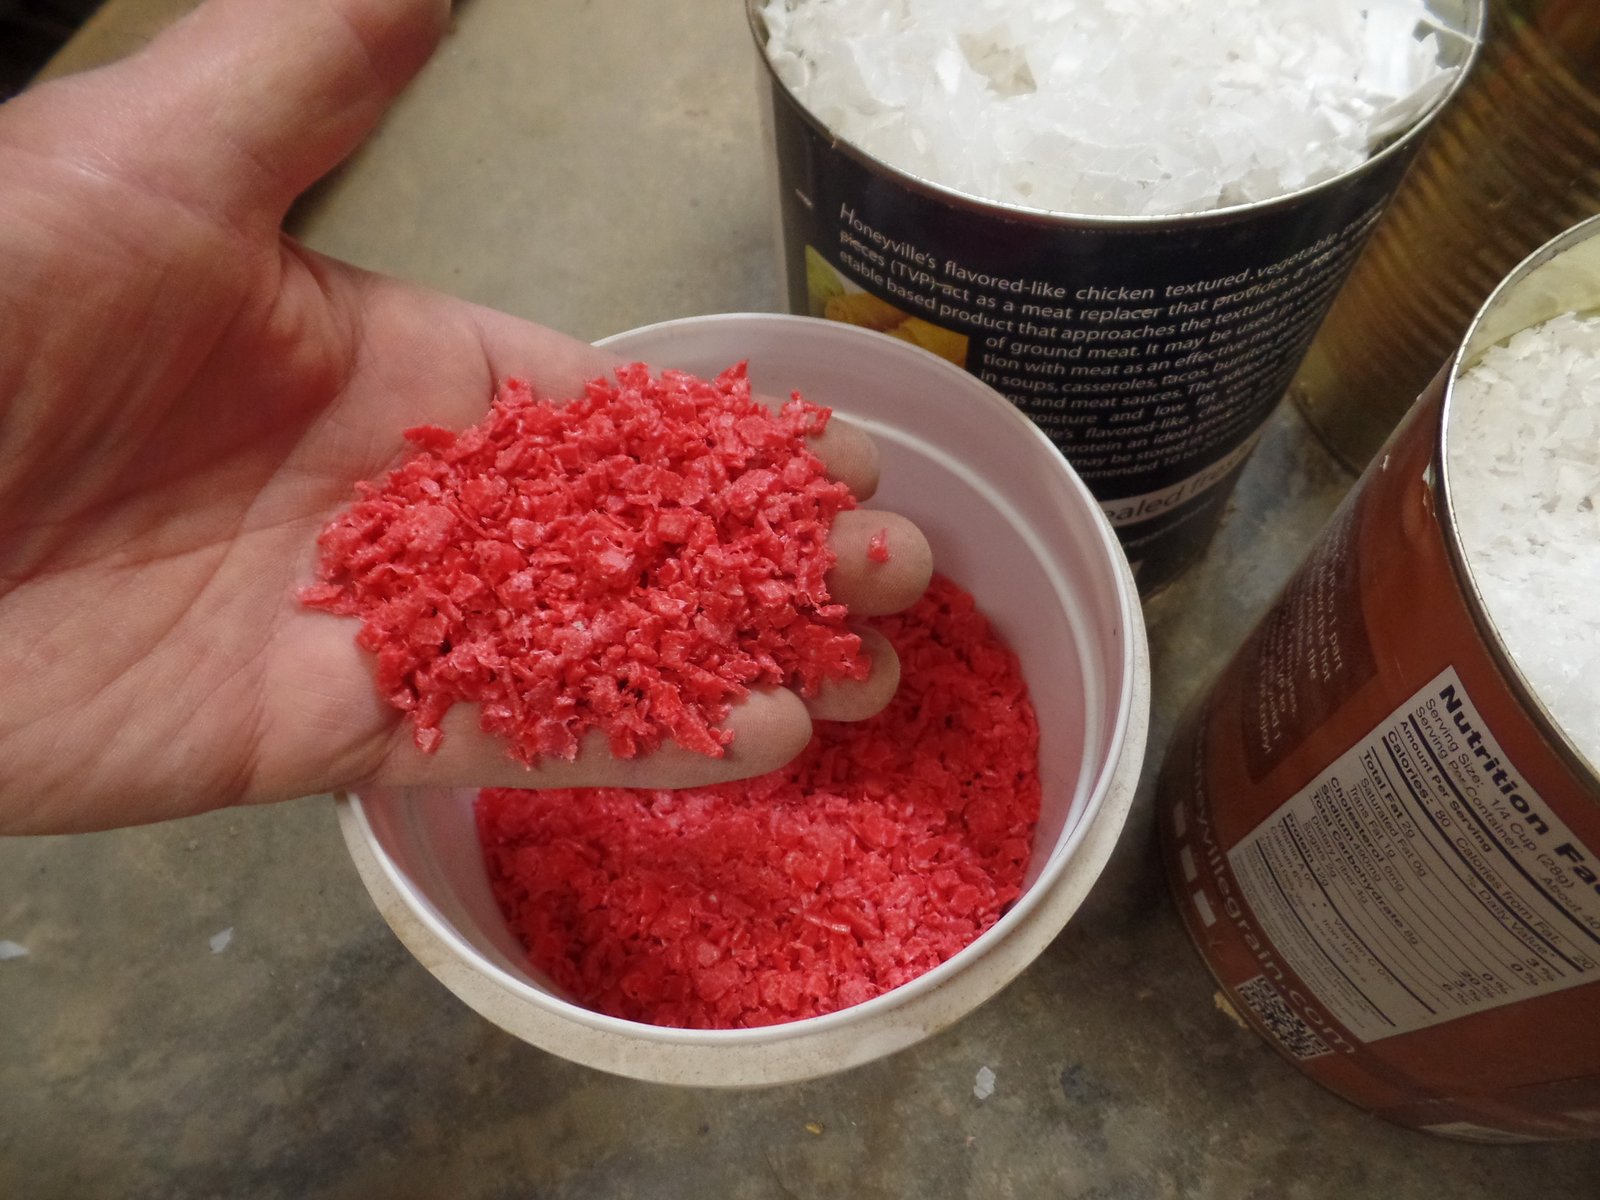
Combine different colors to make unique patterns

Beware of Look Alike Plastics
These look like HDPE but are actually Polypropylene (PP). It has a much higher melting point than HDPE, so you don’t want to mix them up. They will be marked as #5 or simply PP.

Preparing to Melting HDPE
As I mentioned before HDPE will melt at around 355 degrees Fahrenheit without releasing any toxic fumes When I started these projects I used a toaster oven in my workshop just in case it produced an objectionable odor. I now use the kitchen oven.
Things you will need before
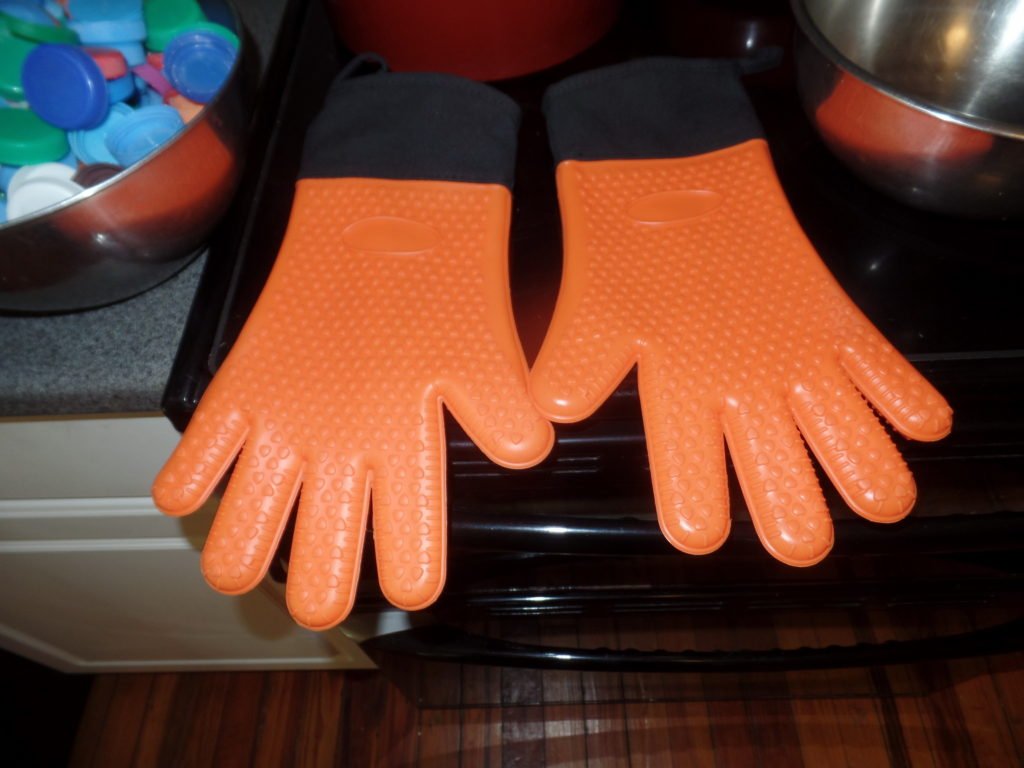
Gloves
Gloves should be heat resistant and non-woven. Molten plastic will stick to a porous surface. These silicon oven gloves work great.
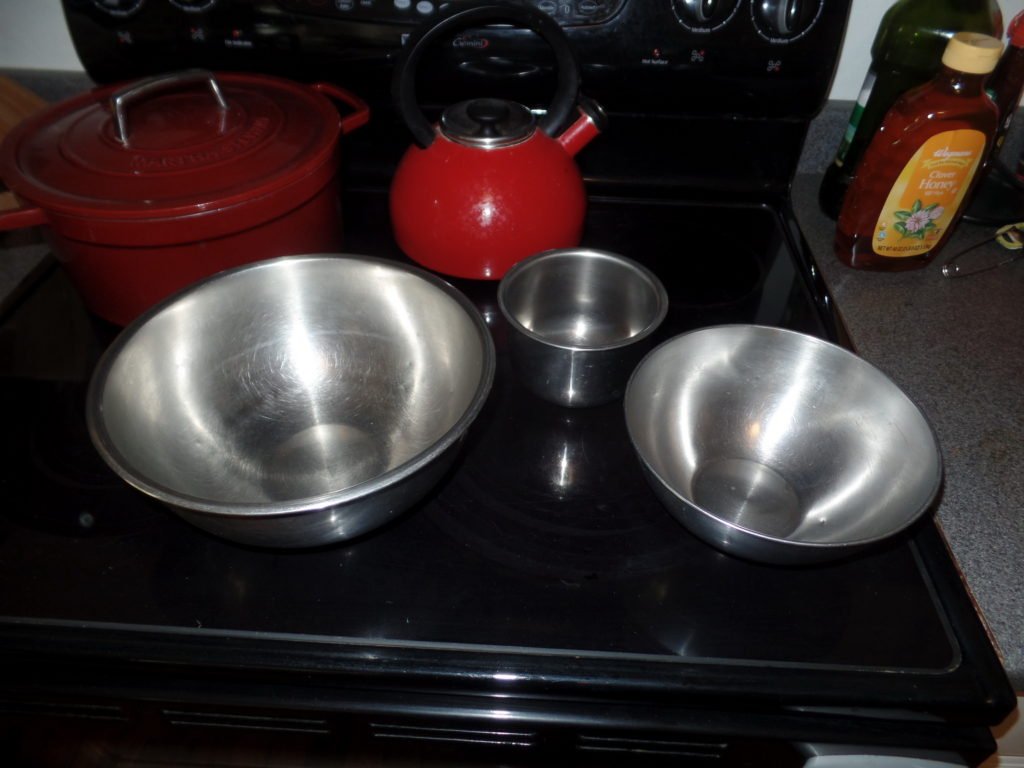
A mold
To get a smooth surface on your item, directly out of the oven, the HDPE will need to be pressed into a mold. Again, you want the least porous surface possible. Cake pans or stacking bowls work great.
Melting HDPE
I’ve tried a few methods. The most straightforward means is to simply fill the mold with the shredded plastic and slide it into the oven. While that might seem like the easiest, most efficient method, I’ve had less than optimal results. The plastic never seems to fully liquify. Rather, it softens and then fuses together once cooled. This is acceptable, but considerable physical pressure must be placed on the semi-molten plastic and throughout cooling to ensure no voids (air pockets) remain in the finished item.


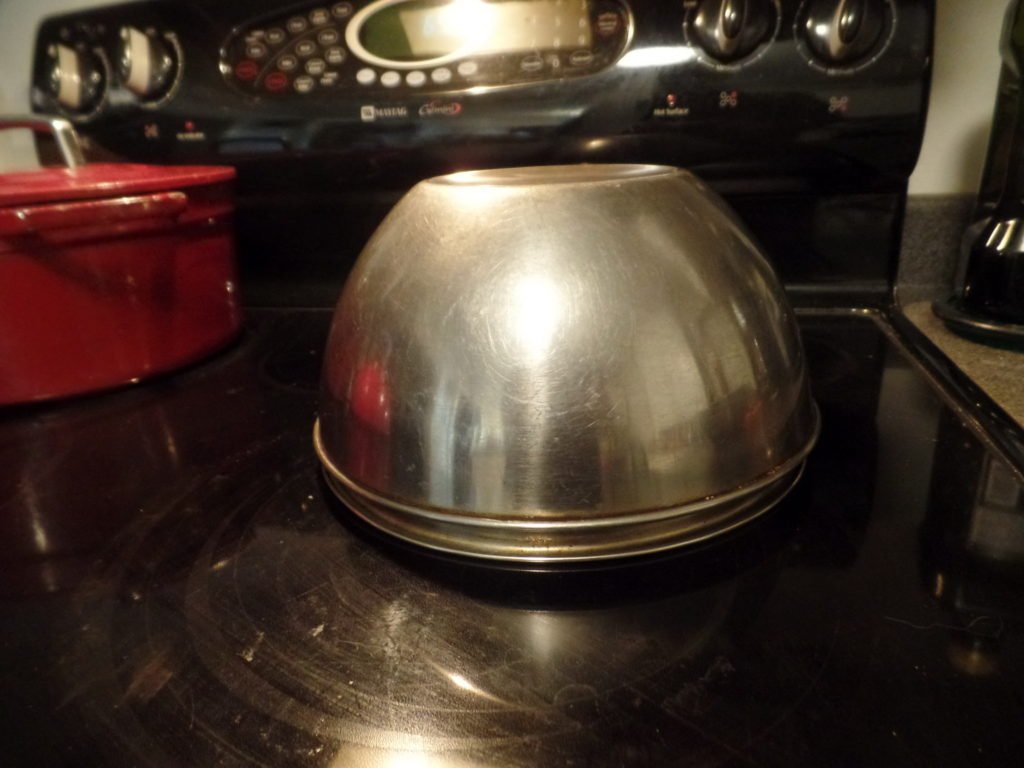
compressed between molds 
outer mold released 
inner mold released 


Another method
As I mentioned, when I simply allowed the shredded HDPE to melt in the bowl I intended to use as a mold, it never fully liquefied, which made it very difficult to compress under the top mold. Air bubbles are also likely to become trapped, leaving an undesirable effect when the plastic has not fully melted. This can be resolved by first melting the plastic on a flat baking sheet, covered in parchment paper, prior to placing the plastic into your mold. You will definitely need the silicon gloves in this case. Also, I’ve had problems with the parchment paper getting stuck in the molten plastic. Consider using a silicon baking sheet. I have not yet tested this, but I plan to soon.


The molten plastic can then be transferred to and pressed into a mold using silicon, heat resistant gloves. For best results, the mold should also be heated prior to the transfer. This must be done really fast. HDPE rapidly solidifies once removed from the heat. If you can just transfer the plastic from the sheet to the bowl, you’re doing good. Then put it back in the oven and allow it to soften again before pressing it to conform the the bowl’s inner contour.


Embellishment and Finishing
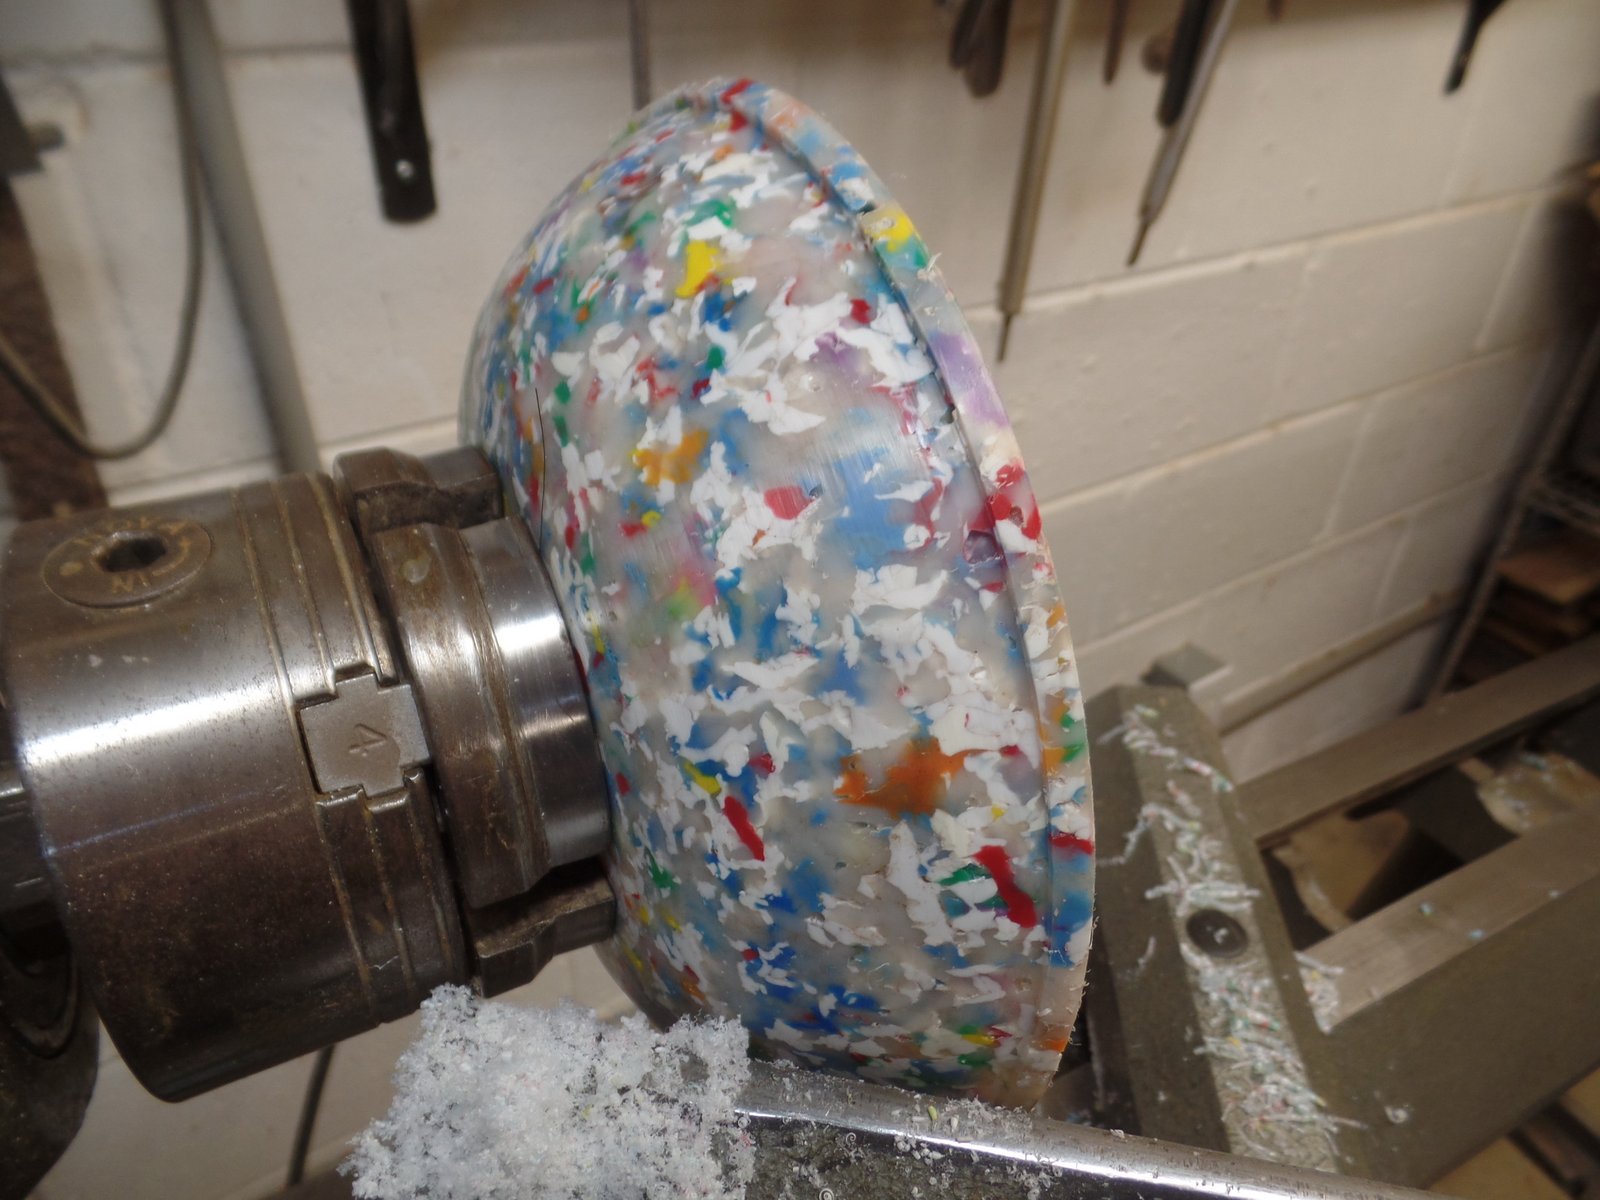
Ideally, the bowls would come out of the molds ready to use, but mine typically need some machining, to remove flashing and to improve overall usability. Fortunately, HDPE is a highly machinable plastic, meaning it’s easily cut and shaped using tools. I use the same tools I use for my wood working, and much of the same procedures I use to make wood bowls.

Removing flashing 
Shaping the lip 
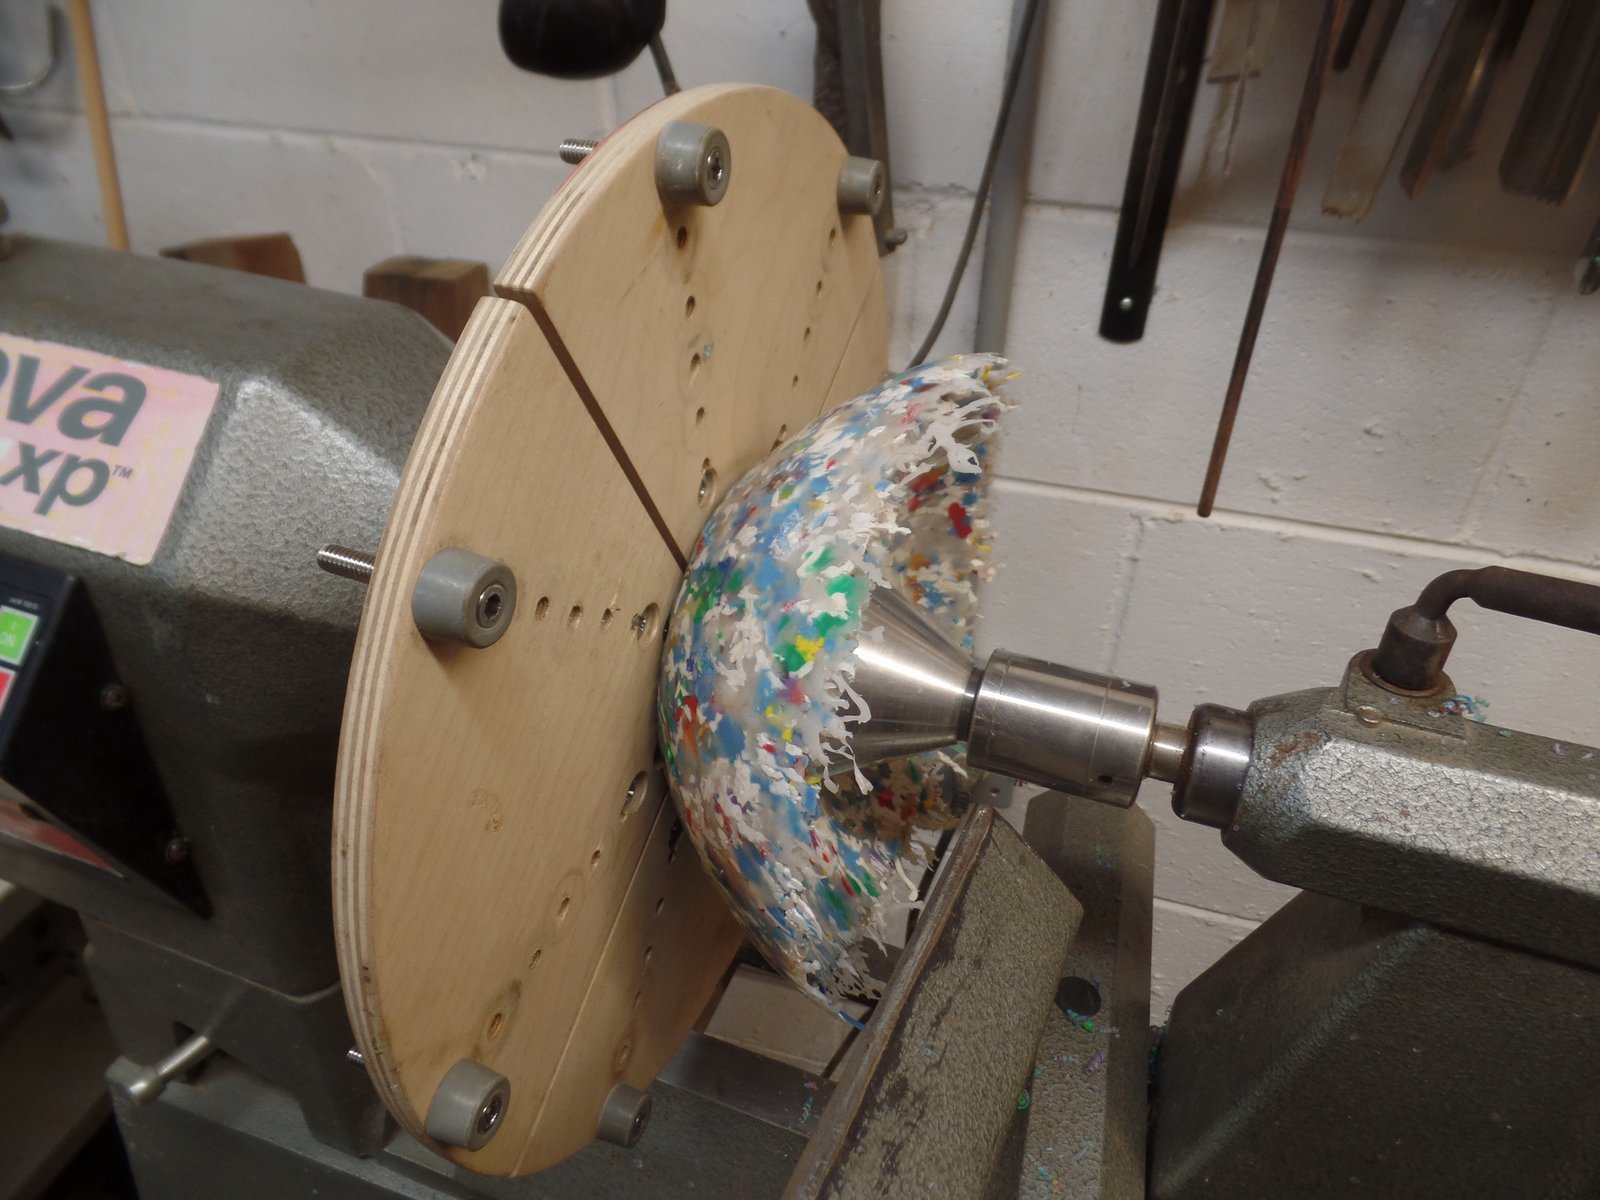
Adding a slight curve to the base 
Further shaping 
Reducing the bowl’s thickness 
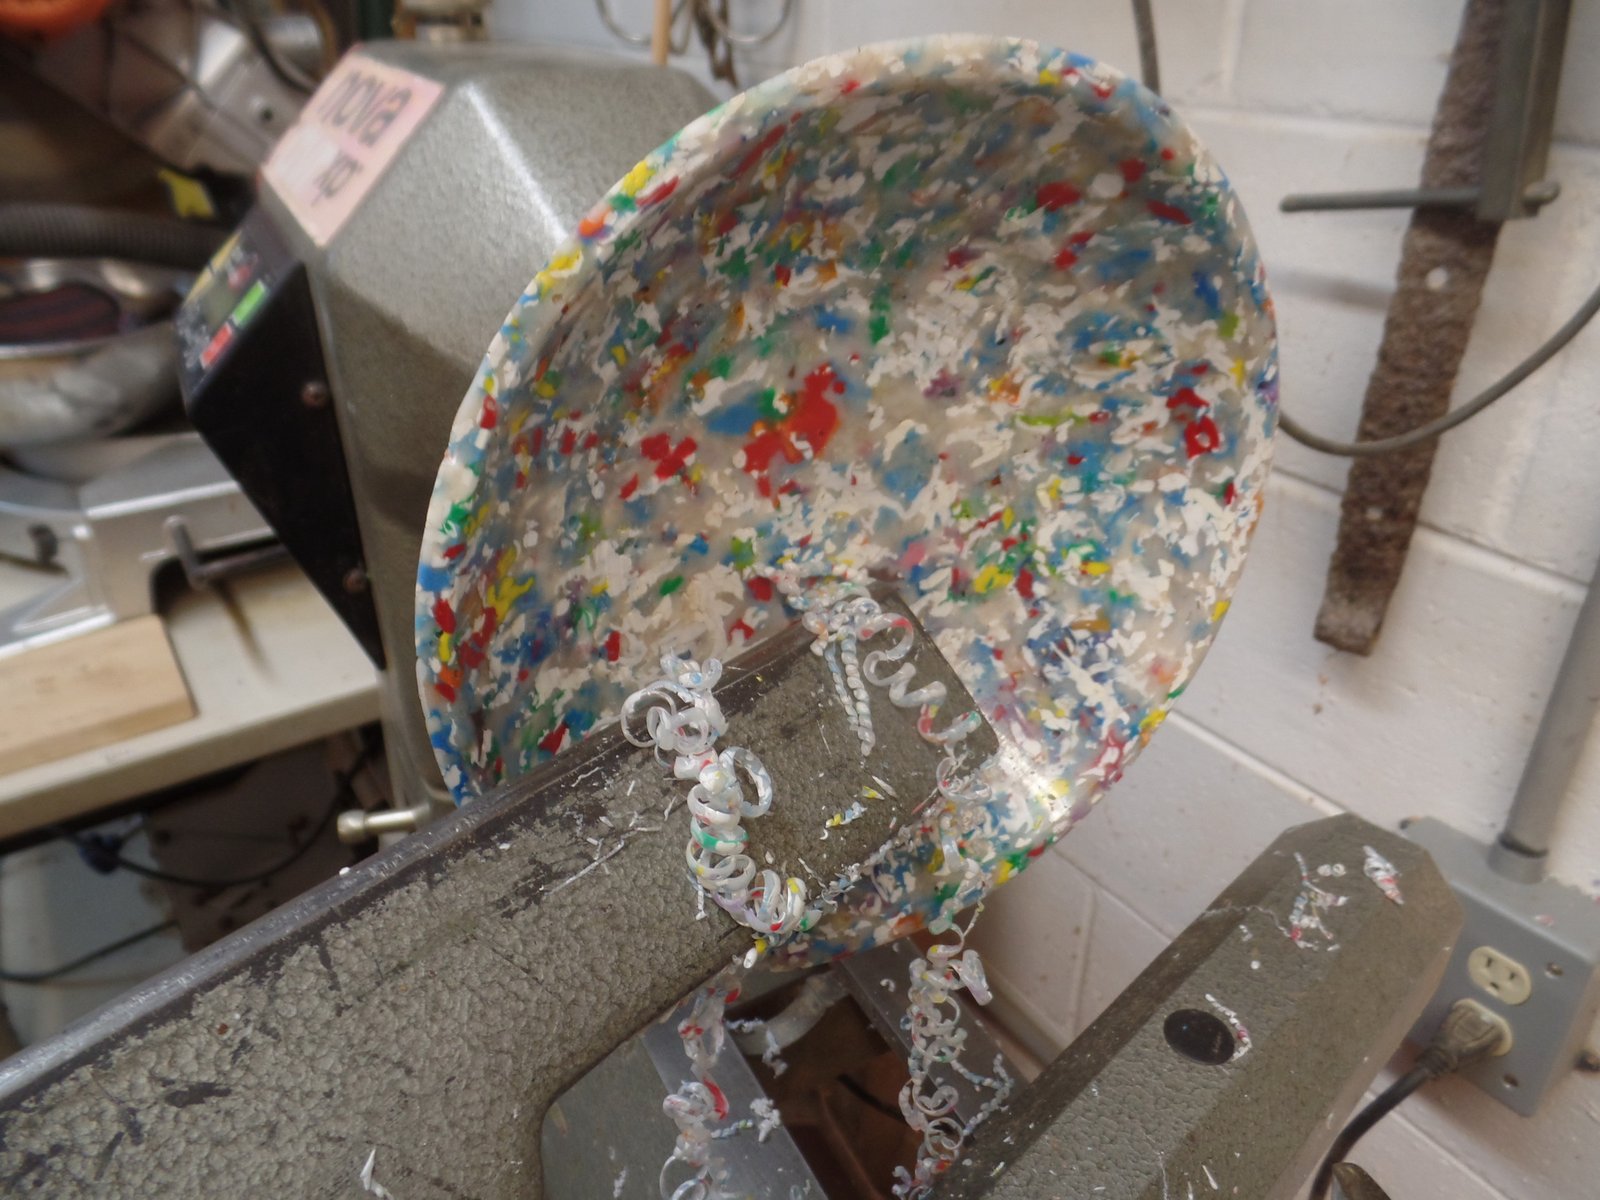
Polishing the exterior 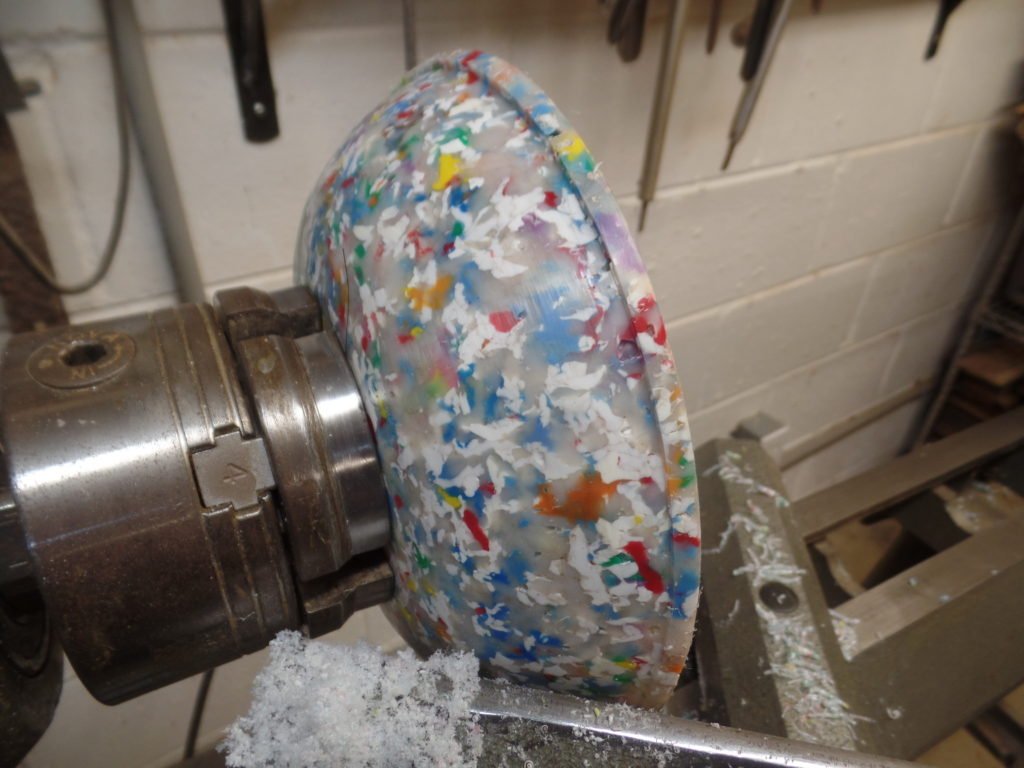
Polishing the exterior 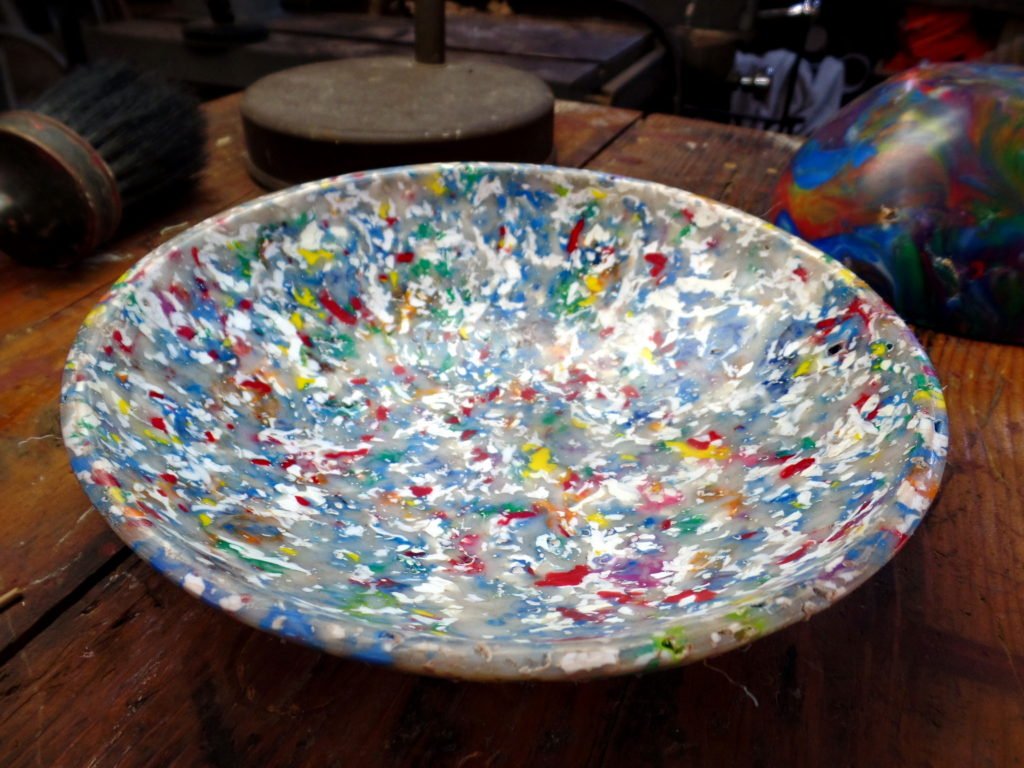
The Finished bowl


That’s about it, but the project isn’t finished. I plan to continue to improve on these methods and post updates. My goal is to simplify the process so everyone can make use of this wonderful, and readily available resource. Virgin HDPE can give us hundreds of years of of reuse, so none of this precious plastic should ever end up in the land fill.
Hey! This is great, practical info, and right on time for me, too – I really wanted to get away from plastic packaging altogether when I relaunched my business last year, but it’s not something I can realistically manage just yet. So I’ve just used up the last of my old packaging stock and have been staring at supplier web catalogues in a bit of a haze, trying to remember everything i’ve read about my various packaging options… you just cut to the chase for me, plus bonus reclaimed/salvaged crafty stuff, which is increasingly our thing out here lately. Nice setup! Thanks for the info and the helpful tutorial/pics 🙂
Thanks Karma! I will definitely post updates when I improve on the techniques. I’m really glad to hear that others are interested in home grown recycling of this amazing material.
Thank you!
Great information here! Thanks for the pictures as well. I hope to try this later when I have the right tools.
Thanks Penny! I recently found a group in the Netherlands that has designed and is sharing the plans for several plastic recycling machines. I’ve found some good tips on their website and you might want to have a look https://community.preciousplastic.com/academy/intro.html
Pingback: HDPE – what it is, why you should care, and how to recycle it at home – Seraphin Station